
Waterbase Tutorial with plenty of pics !
I like to do resin water bases, and many people ask me if it is difficult, or are put off by working with Resin, it is honestly a lot easier than it looks !

Today we'll go through how I did this base.
First off, build and paint your model and base, most of the effect for the water colour comes from the base, so if you want a bright blue base go with blue, I tend to go with a turquoise/green colour.
Base:
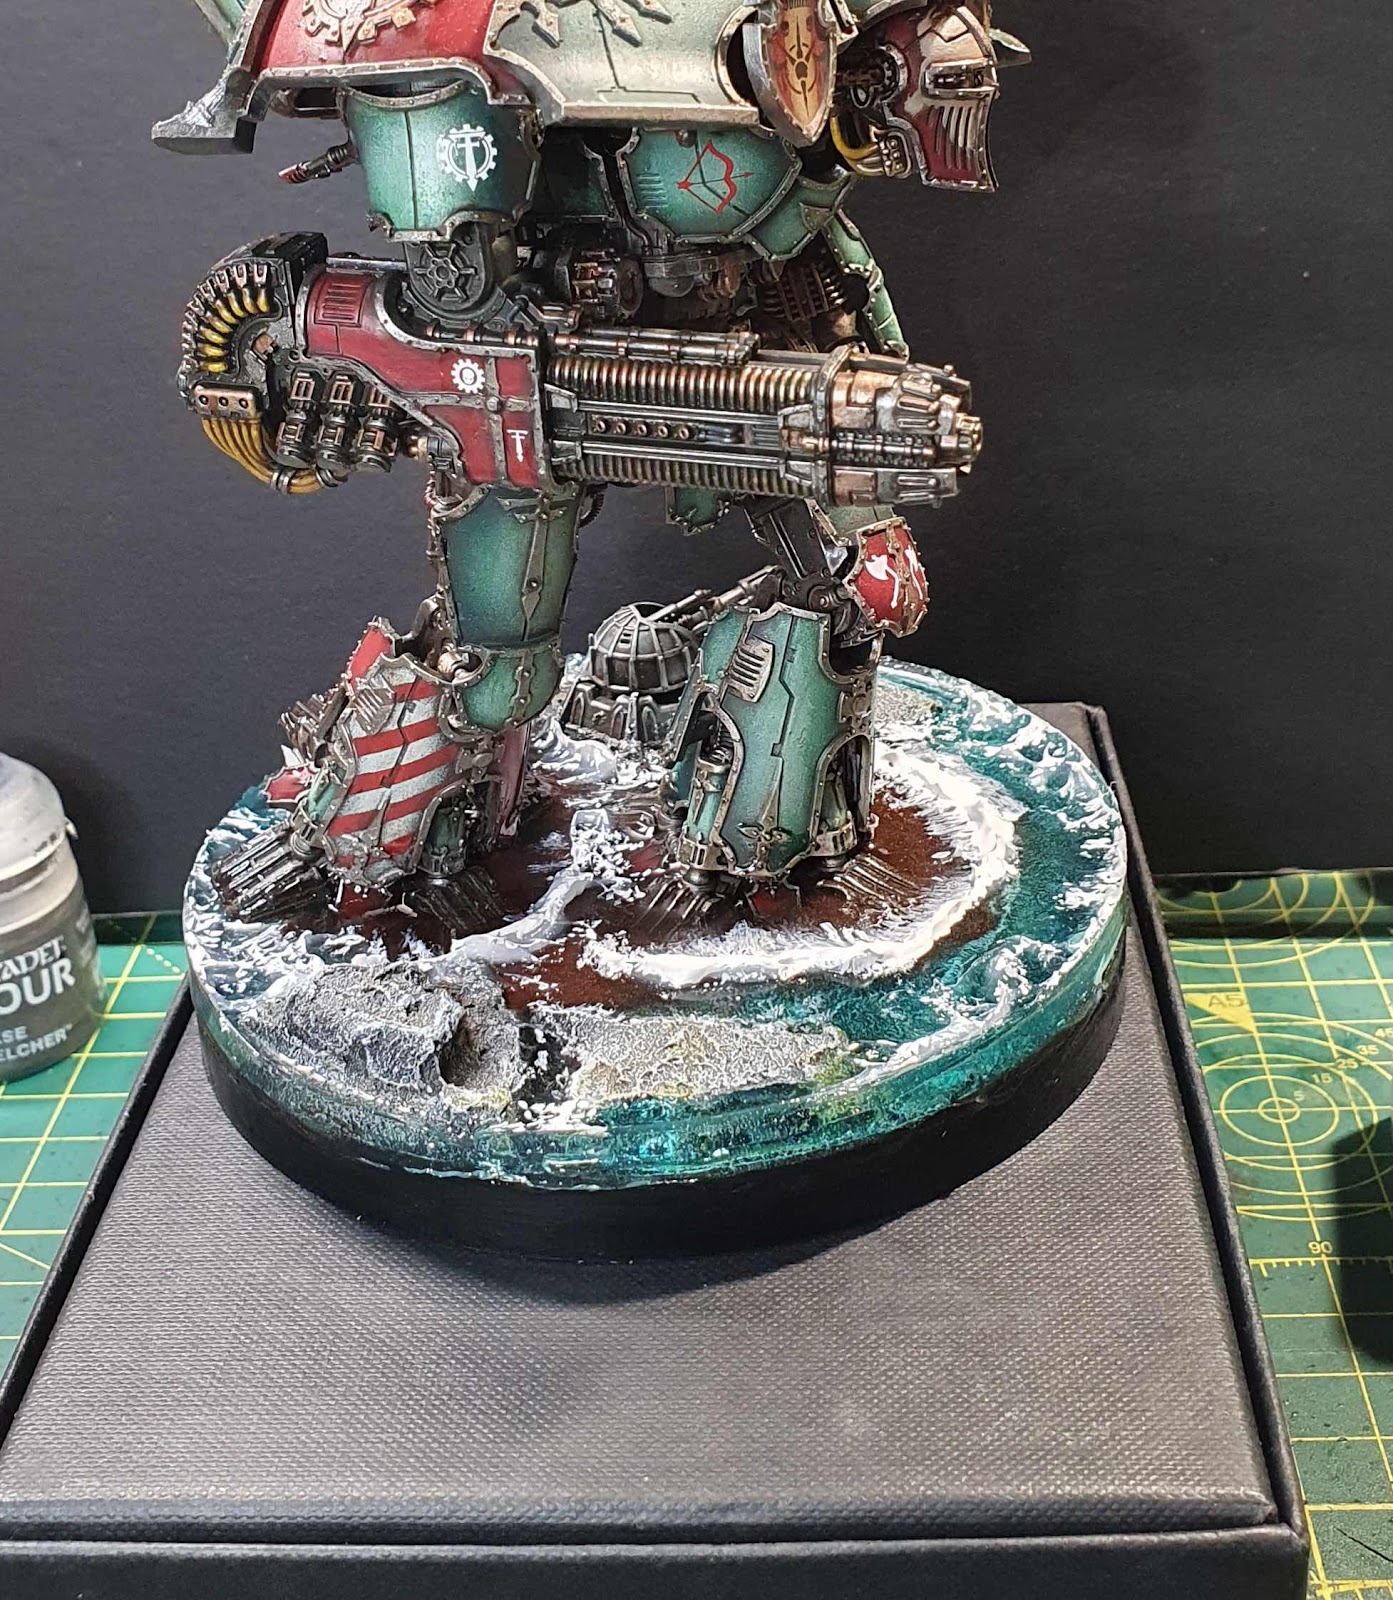
This is the base I used for the warlord (it will be for display and not gaming, hence it being on a round base), in this instance I used Perspex, I added some cork, covered the whole model in Vallejo Earth Texture and already added in the wave bit of where I want the wave to be, in the finished product you can barely see it, but I have always done this and if you keep the top layer more clear, then it adds some movement.
I also like to add some point of reference to convey the scale of the Titan, in this case a small defense laser from the Titanicus objectives sprue.

I painted it black, then heavy drybrush Ahriman Blue, Temple Guard Blue, and Corax White, I then went over the edges around the "rocks" with some Agrax, and some Seraphim Sepia, I also added a few splashes of Plaguebearer Flesh which acts as seaweed and adds a bit of colour to an otherwise quite stale base.
I also decided to add some brown, I believe this is Skragg brown around the feet to show the sediment thrown up by the Titan walking.
So now that the base is about ready for Resin, you have to make sure none of your resin will leak out, Normally I would use 1mm clear plasticard, cut a strip and tape it to the base, but I used an old Coke Bottle, wash and dry:
Glue the model to the base and make sure the glue is fully cured, if you apply resin with superglue which is still wet it may react to the resin.

Now I have a rough mould, I used 2 layers of masking tape to hold it in place:

Resin:
Now for the fun stuff, I have had a few incidents where I lost my resin due to a tiny leak in the mould, it literally only needs a pinprick to lose it all, so make sure your mould is properly sealed.
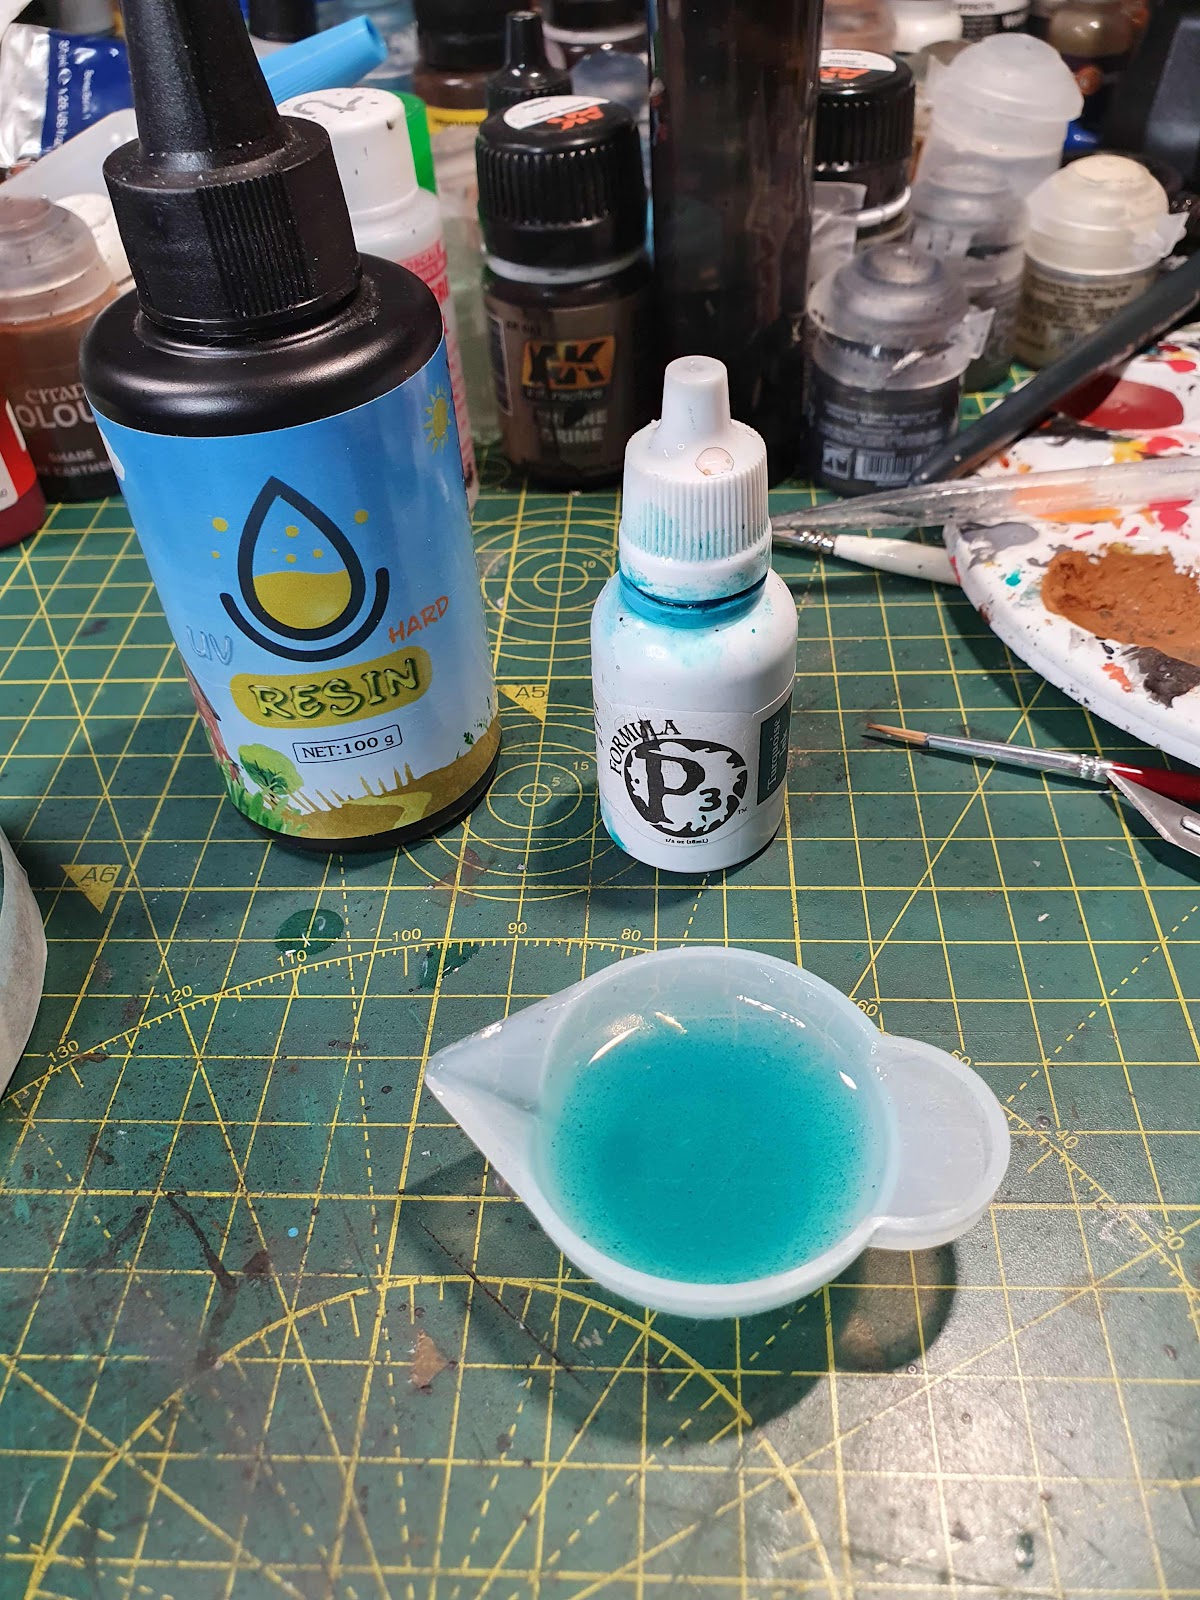
I tend to use a little UV resin around the edges and cure it while I go:
I use standard cheap Amazon UV Jewellery resin, and I tint it with a single drop of P3 Turquise ink:

I also mixed a little of the UV resin with some Skragg Brown and poured it around the feet, use a wooden stir stick to blend it roughly into the other resin before using the UV light to cure it.

You can do the entire base using this method, and works just as well, but I had some 2 part Epoxy Resin I needed to use, so for the purposes of this tutorial I may as well use all the different methods that I know :P
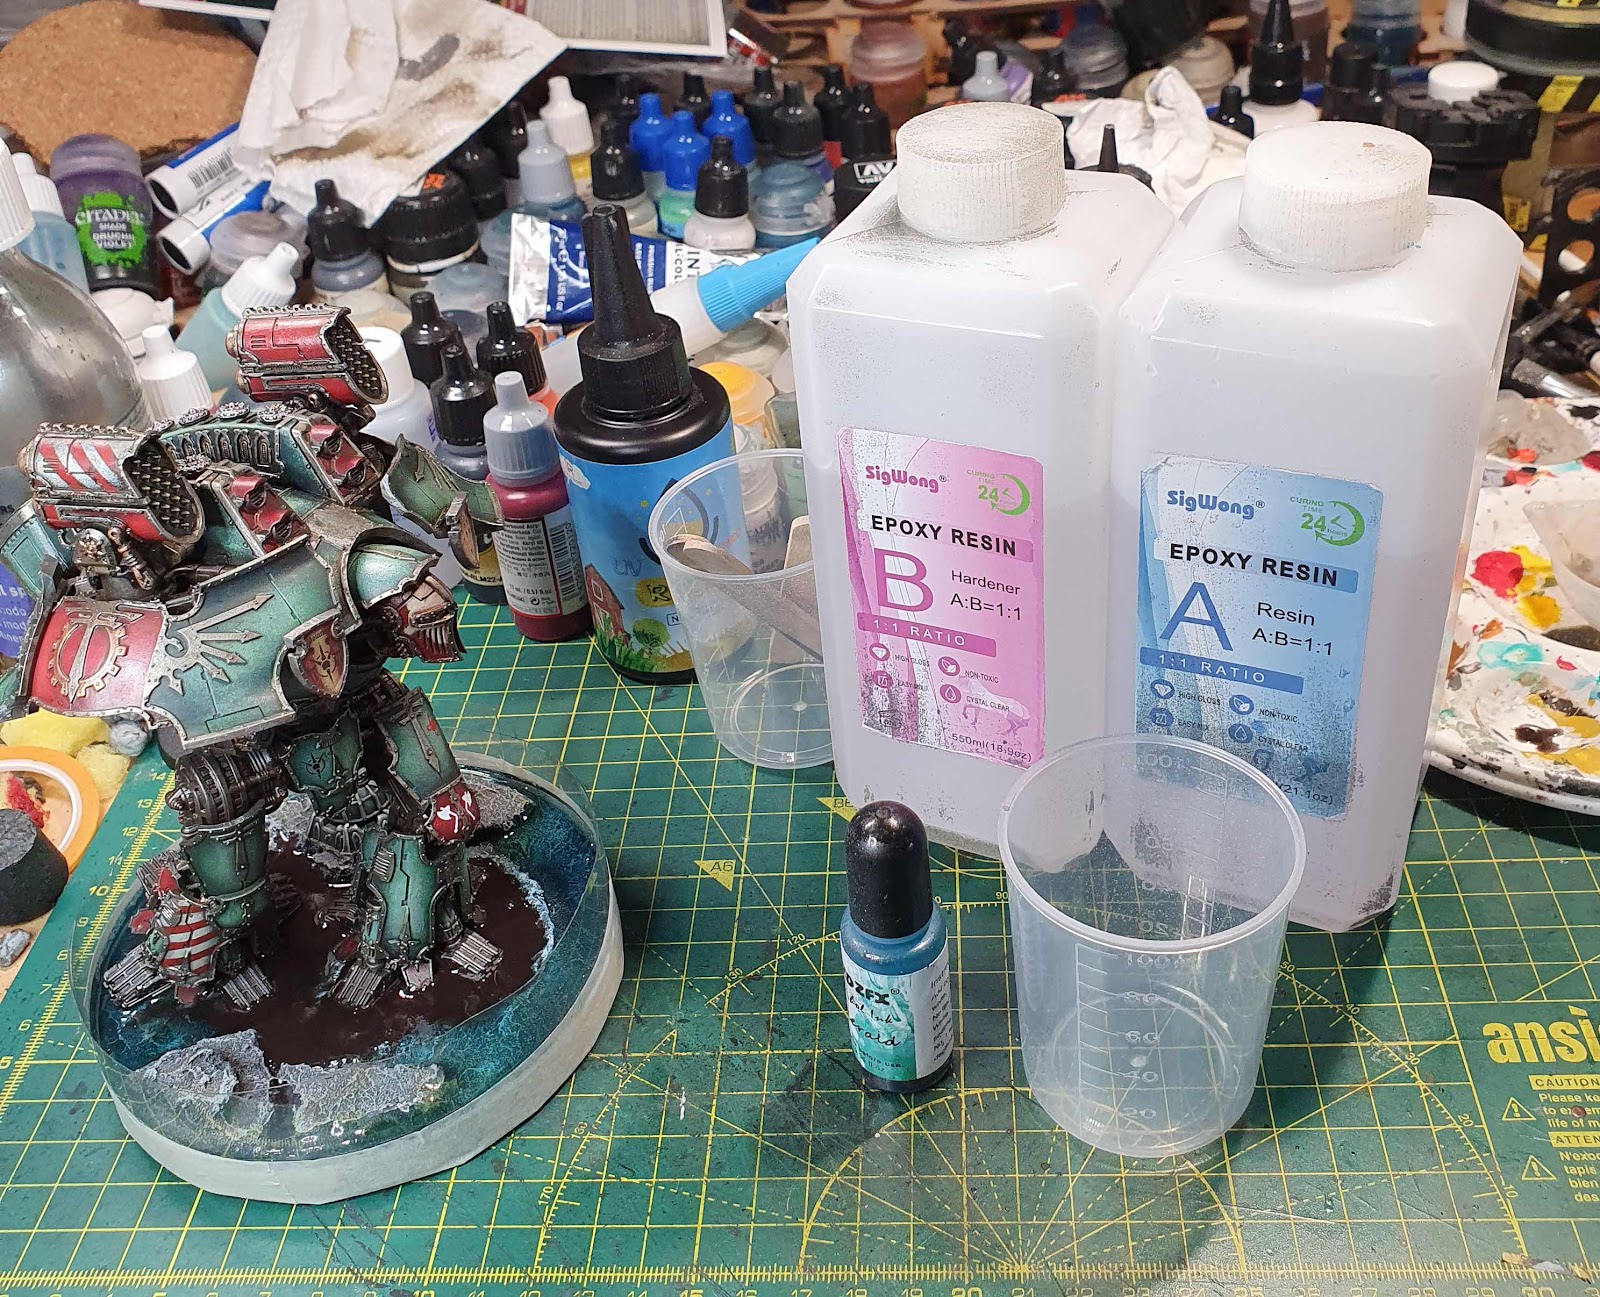
2 Part Epoxy is a bit more fiddly, you have to ensure you mix is correctly, and not all epoxies are the same, some are a few parts to a part of hardener, I used a 50:50 one, just mix equal parts of both, stir for about 10 minutes and pour.
If you choose a different Epoxy please read the instructions. It is generally better to use Epoxy Resins on larger bases as you will have to mix up a fair bit and I had quite a bit of waste.
For colour I used alcohol based inks, Epoxy Resin can react negatively to water based inks/paints, and can cause curing issues.
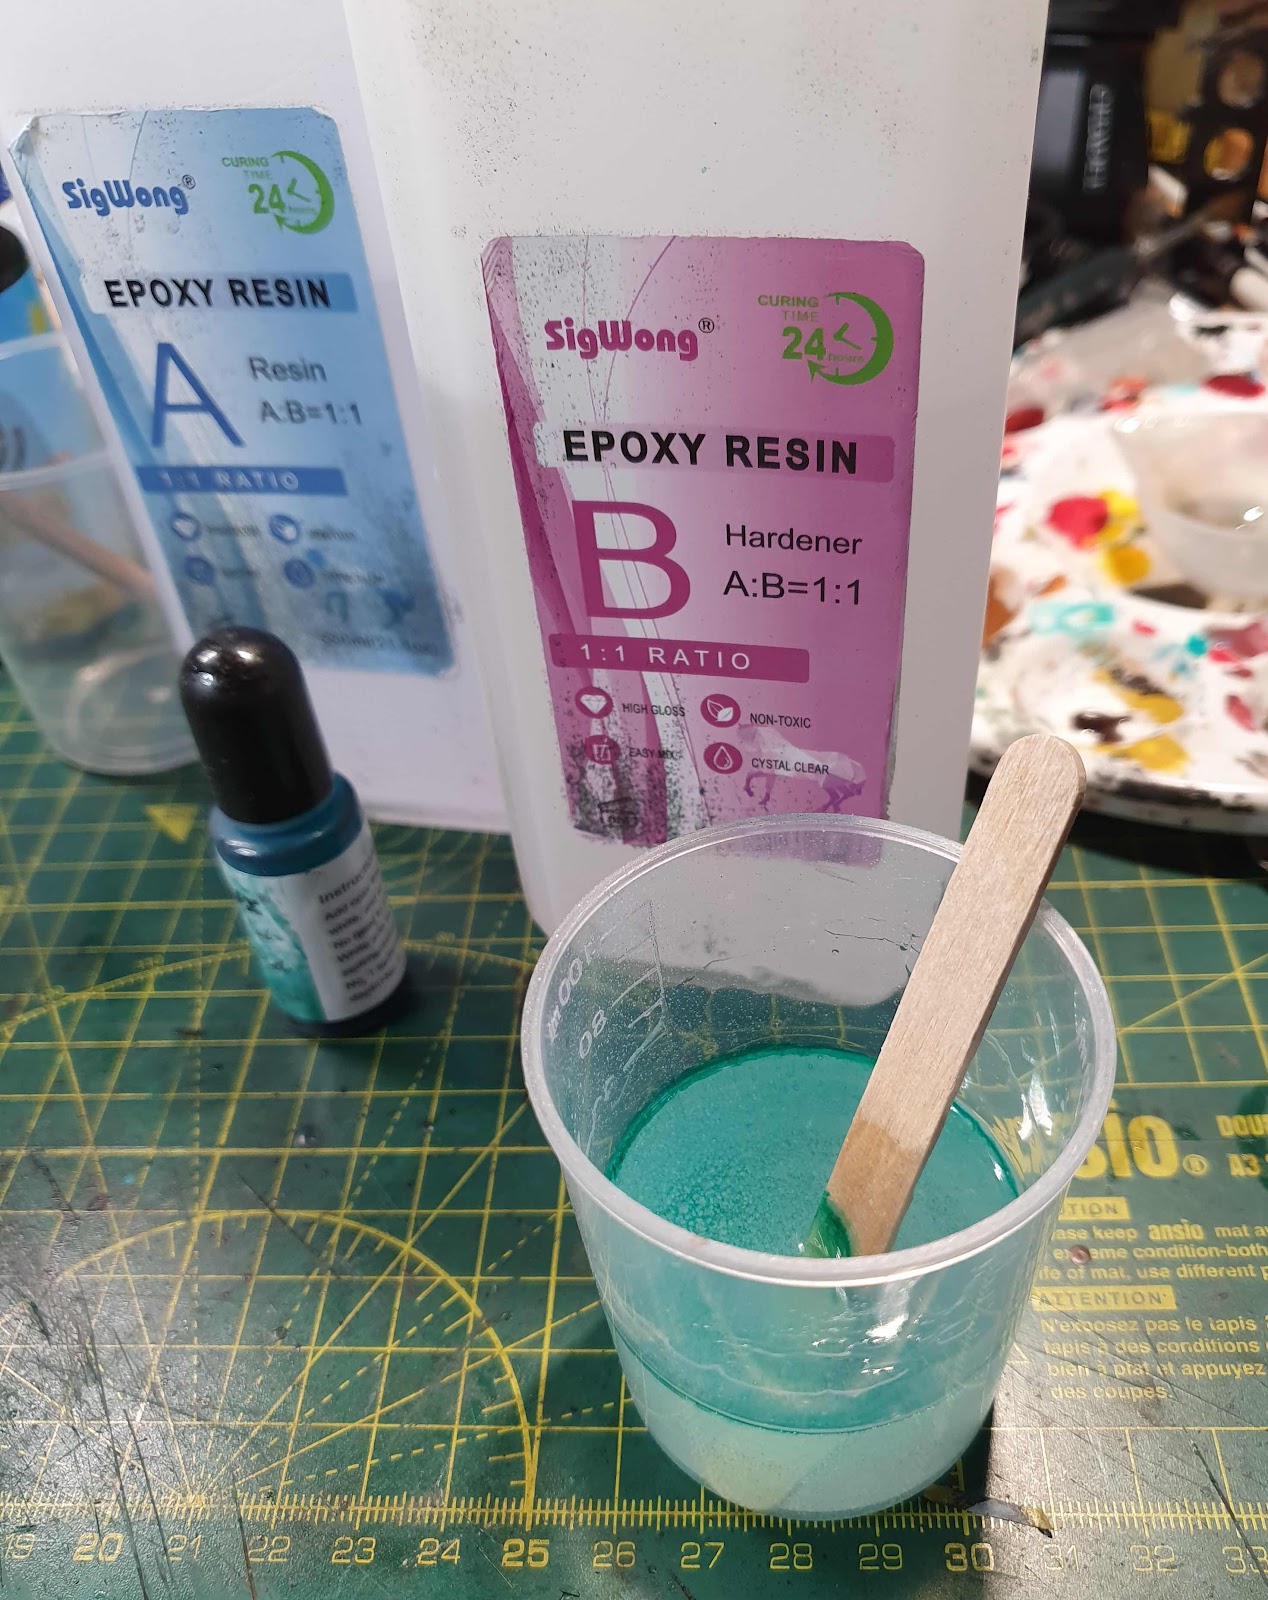
Again, only use 1 single drop, it goes a very long way ! You only want the hint of colour to the resin, the base itself does a lot of the colouring already.
If in doubt if you have not stirred it long enough, just stir it a bit more, make sure it is clear, do not worry about airbubbles, we can deal with them in a bit.
Now it is just a case of pouring it, resin is self levelling, so make sure you work on a flat surface, leave it all to settle for a few minutes, work it round with the wooden stirring stick.
Any air bubbles will rise to the surface, you can simply blow on them to pop them, or a quick blast from a heatgun will do the same (literally a 3 second blast, do not melt your model)
.

Now just wait for 24 hours (or however long the resin takes to cure if you used different resin), leave the model in a ventilated, dust free area.
I tend to put mine on a little paper party plate, just in case there is a leak !
Once fully cured, remove the tape and plastic mould, you can now tidy up any edges.
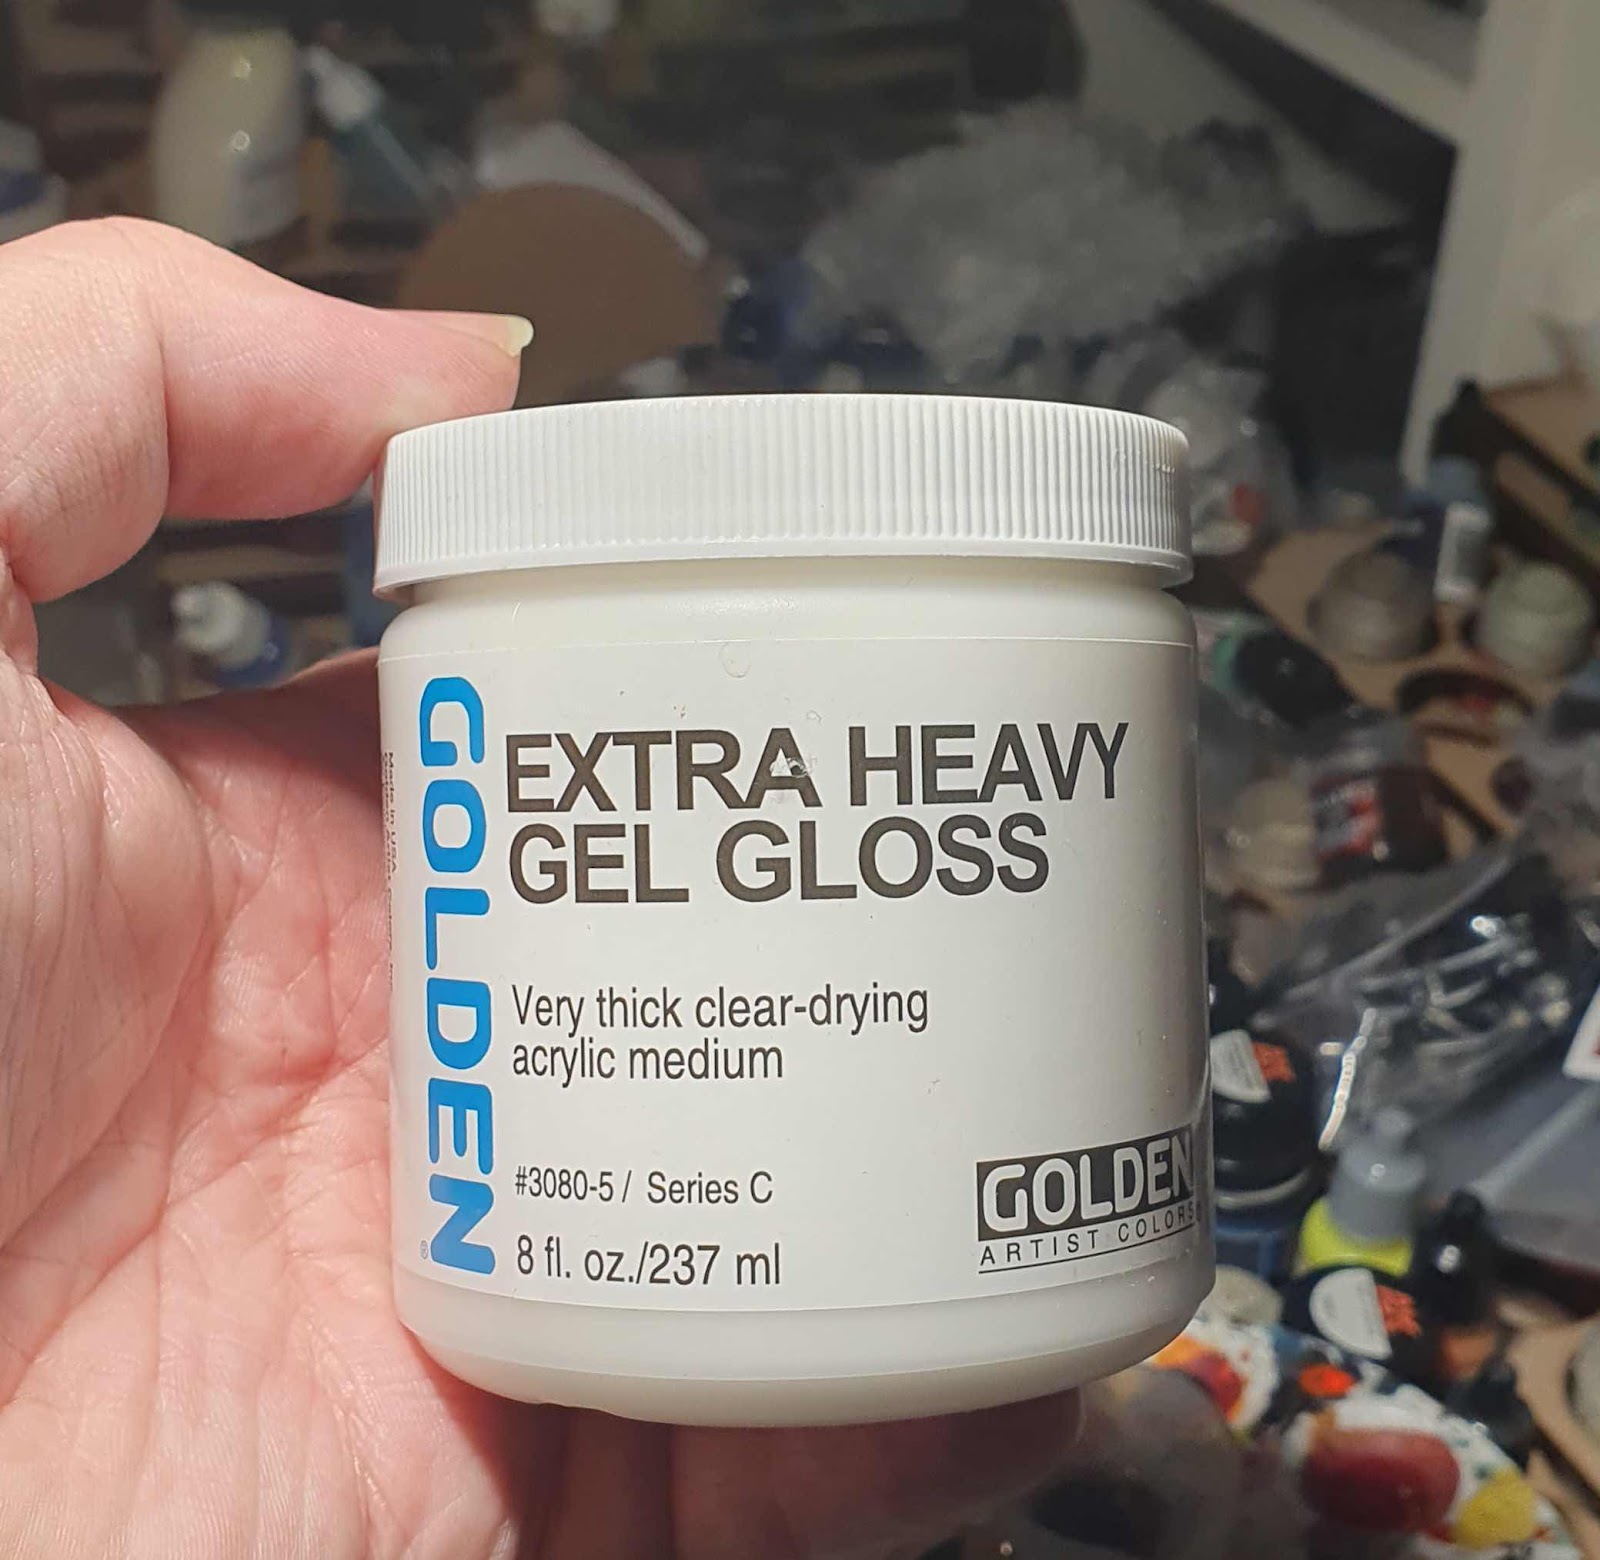
For waves and splashes I use Golden Extra Heavy Gel, this is a transparent, heavy gel which will cure over 24-36 hours and will dry completely clear.
I also tried out some Vallejo Acryllic Foam Texture, but cannot recommend the product, it was very watery and did not perform as well as I had hoped, it will probabyl work better to just use some white paint to paint the tops of the waves.

This is the result after the Golden Heavy Gel has cured, and the Vallejo Water Texture has been added to the tops of the waves, leave to cure (again) for another 24 hours minimum, all that remains to be done now is to apply a thin coat of Vallejo Still Water to give everything a gloss finish.
That is really all there is to it, it sounds like a lot, but it is really pretty easy to do, just a lot waiting time between using resin.
Please feel free to put any questions on the comments, and thanks for reading
Cheers
Eyecon74
Absolutely gorgeous work!
ReplyDelete