
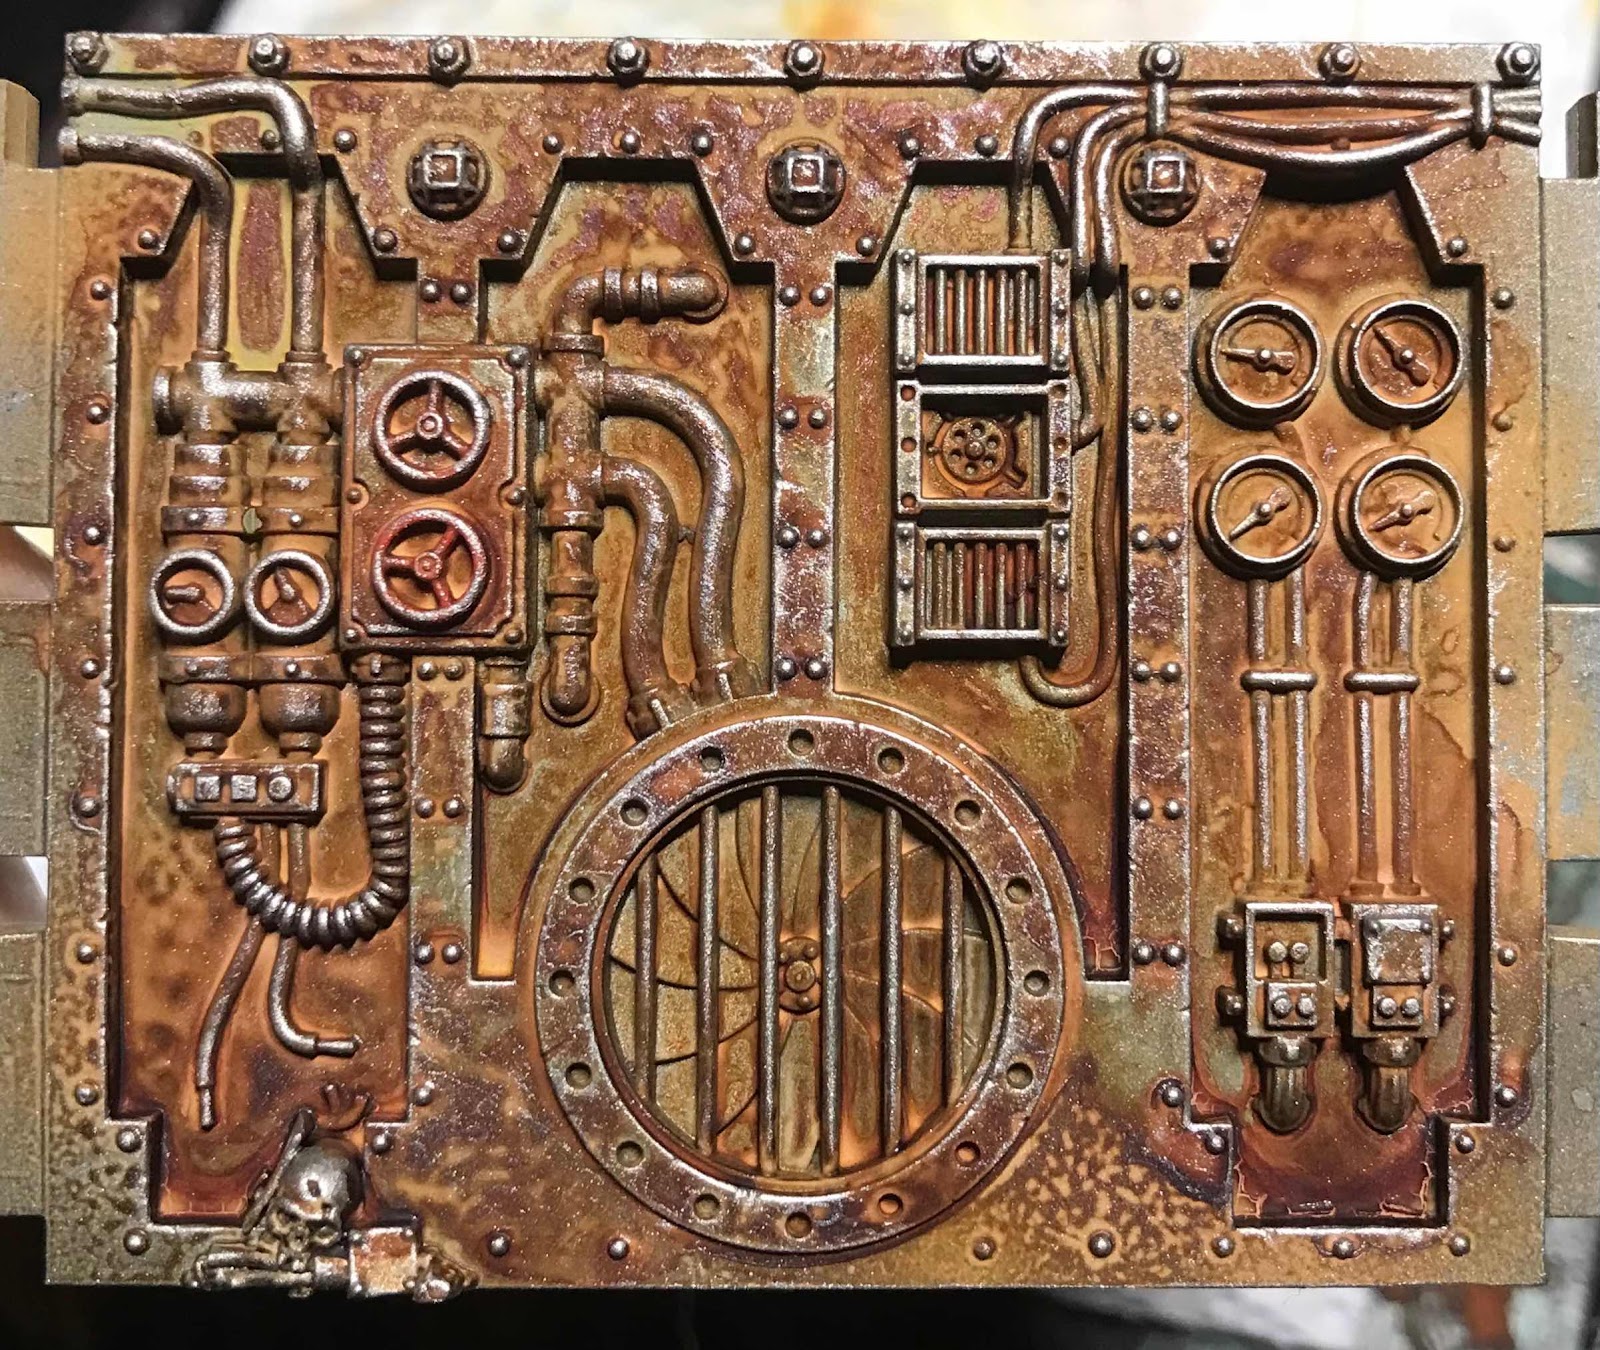
Behold completed Into the Dark terrain.
I wanted a quick and easy scheme for this, otherwise I’d never get it finished before getting bored of walls and moving on.
Heavy Inspiration was taken from “The Painting Phase” on instagram with one step removed-ish.
Get your terrain cut out and tidied up.
Use your favourite method of priming items on mass, I went for an airbrush but rattle cans just aswell.
Once primed, spray silver.
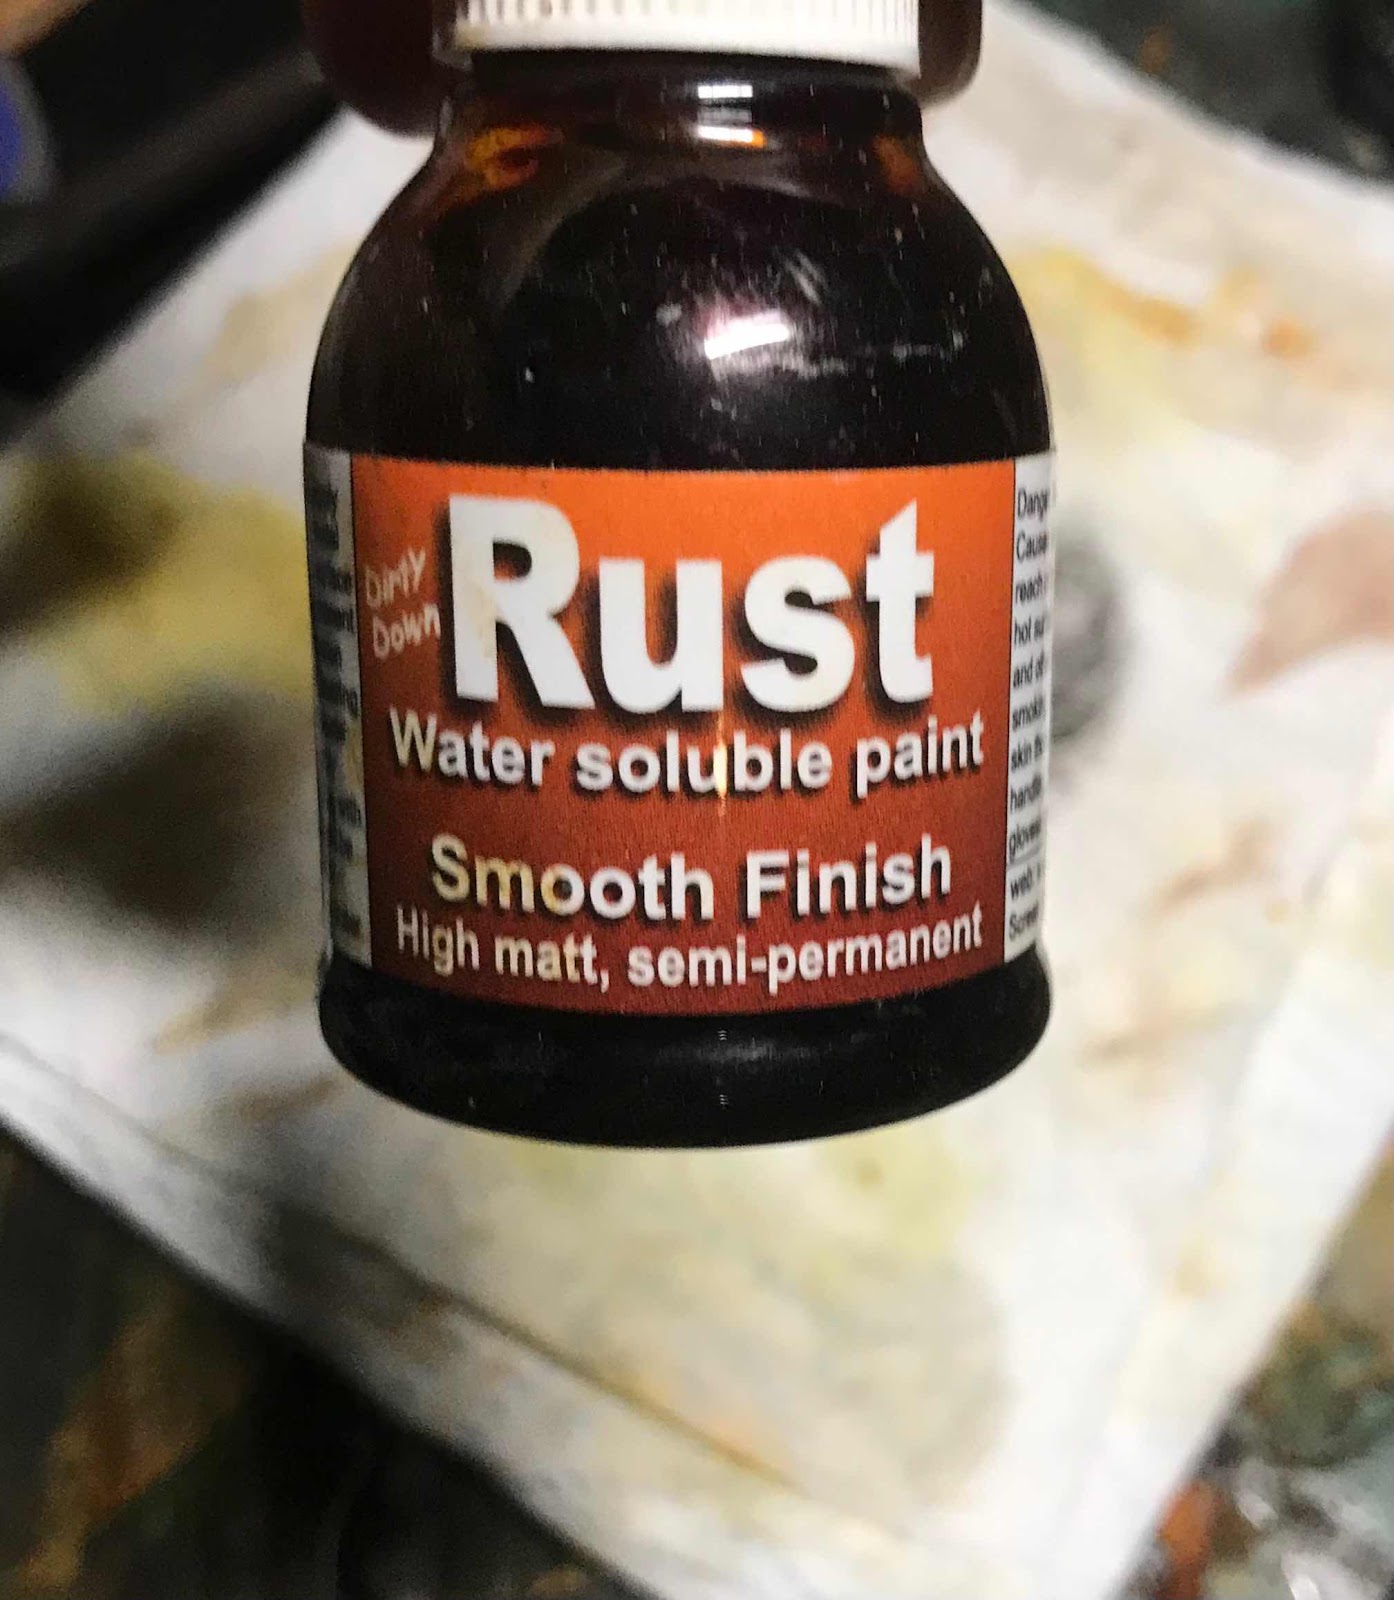
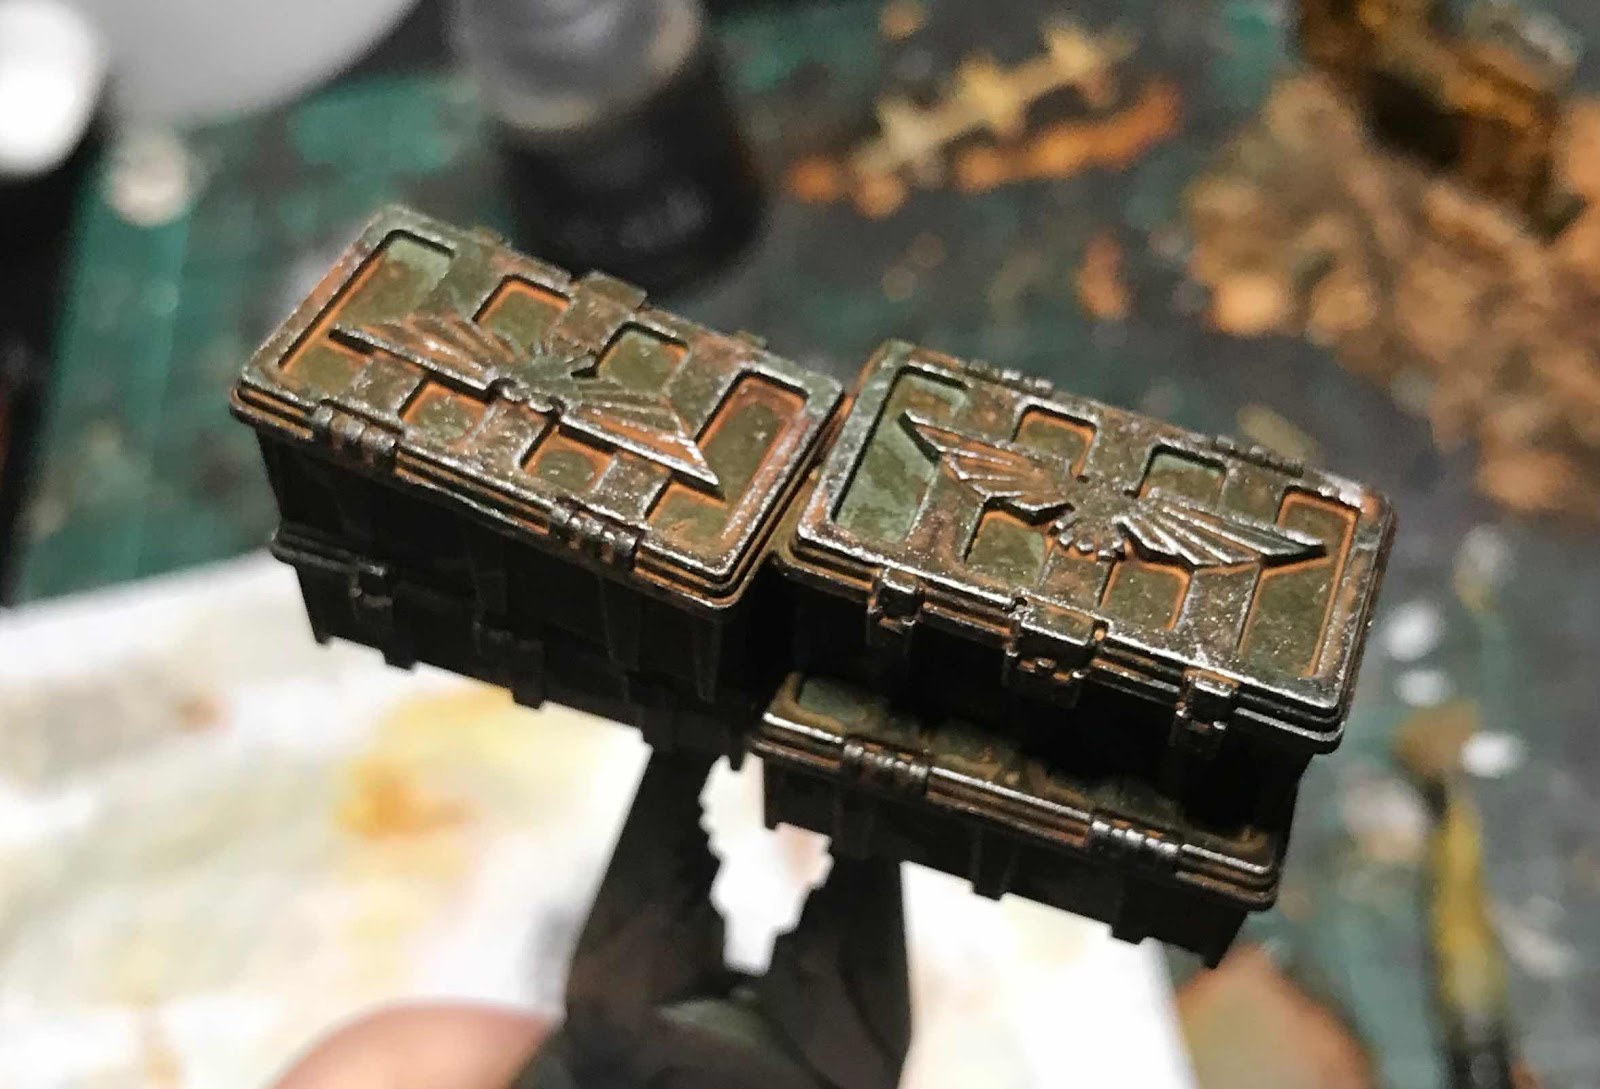
Now the magic is in the use of “Dirty Down Rust” (NOTE: Mix this with a brush, it easily separates, leaving a thick goo at the bottom. Shaking alone will not mix this paint).
Which is hilariously expensive but it some of the best paint I have ever used.
I put it through the airbrush initially to get a good coverage, mainly because I’m not made of money and time to apply via brush (you could use a brush if thats all you have access to, it’ll just take longer and use more paint)
Once sprayed, I went back and put random spatters of Dirty Down Rust using an old brush to give a more random effect.
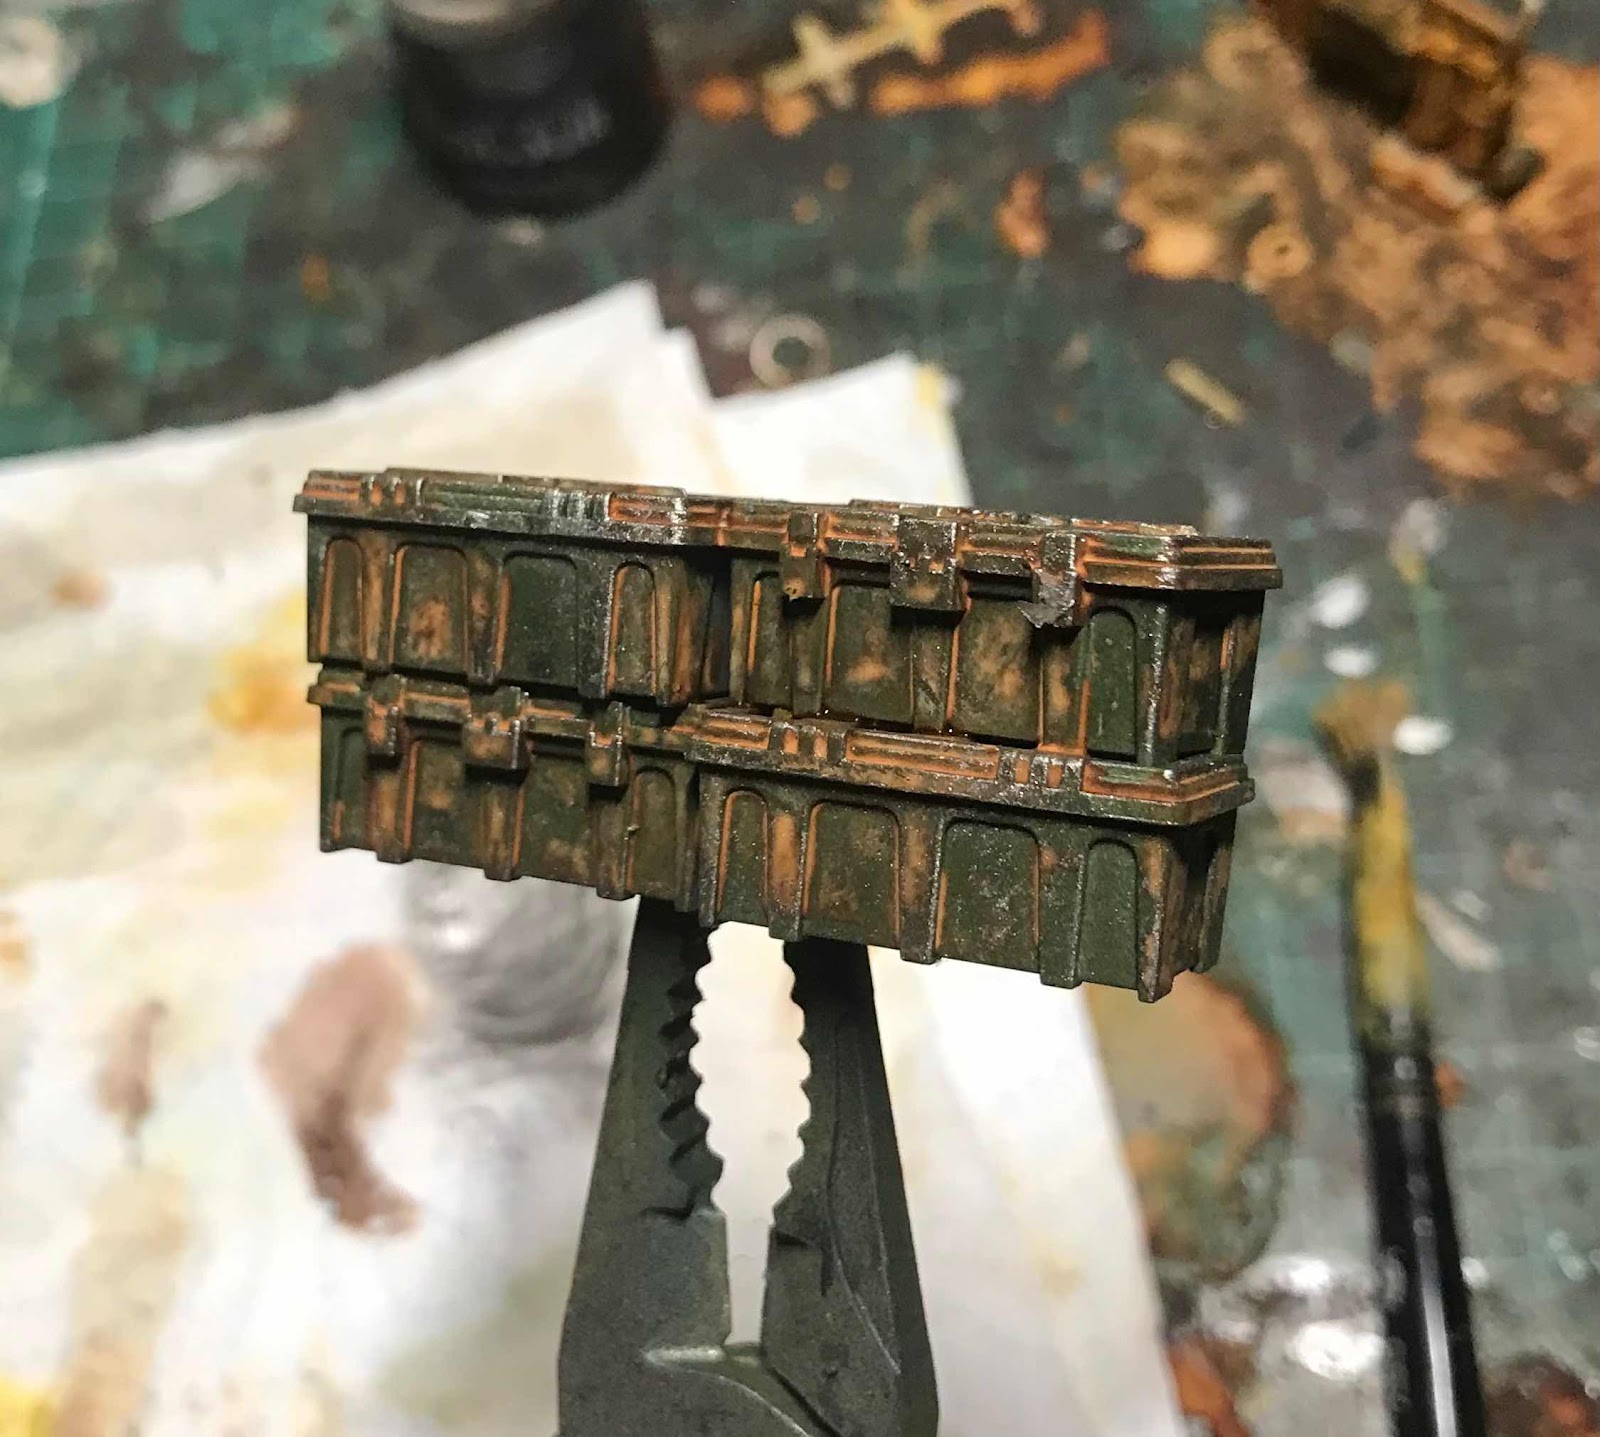
I started to added red to various places like valves and wheels on the terrain, I gave up half way through due to the following reason…
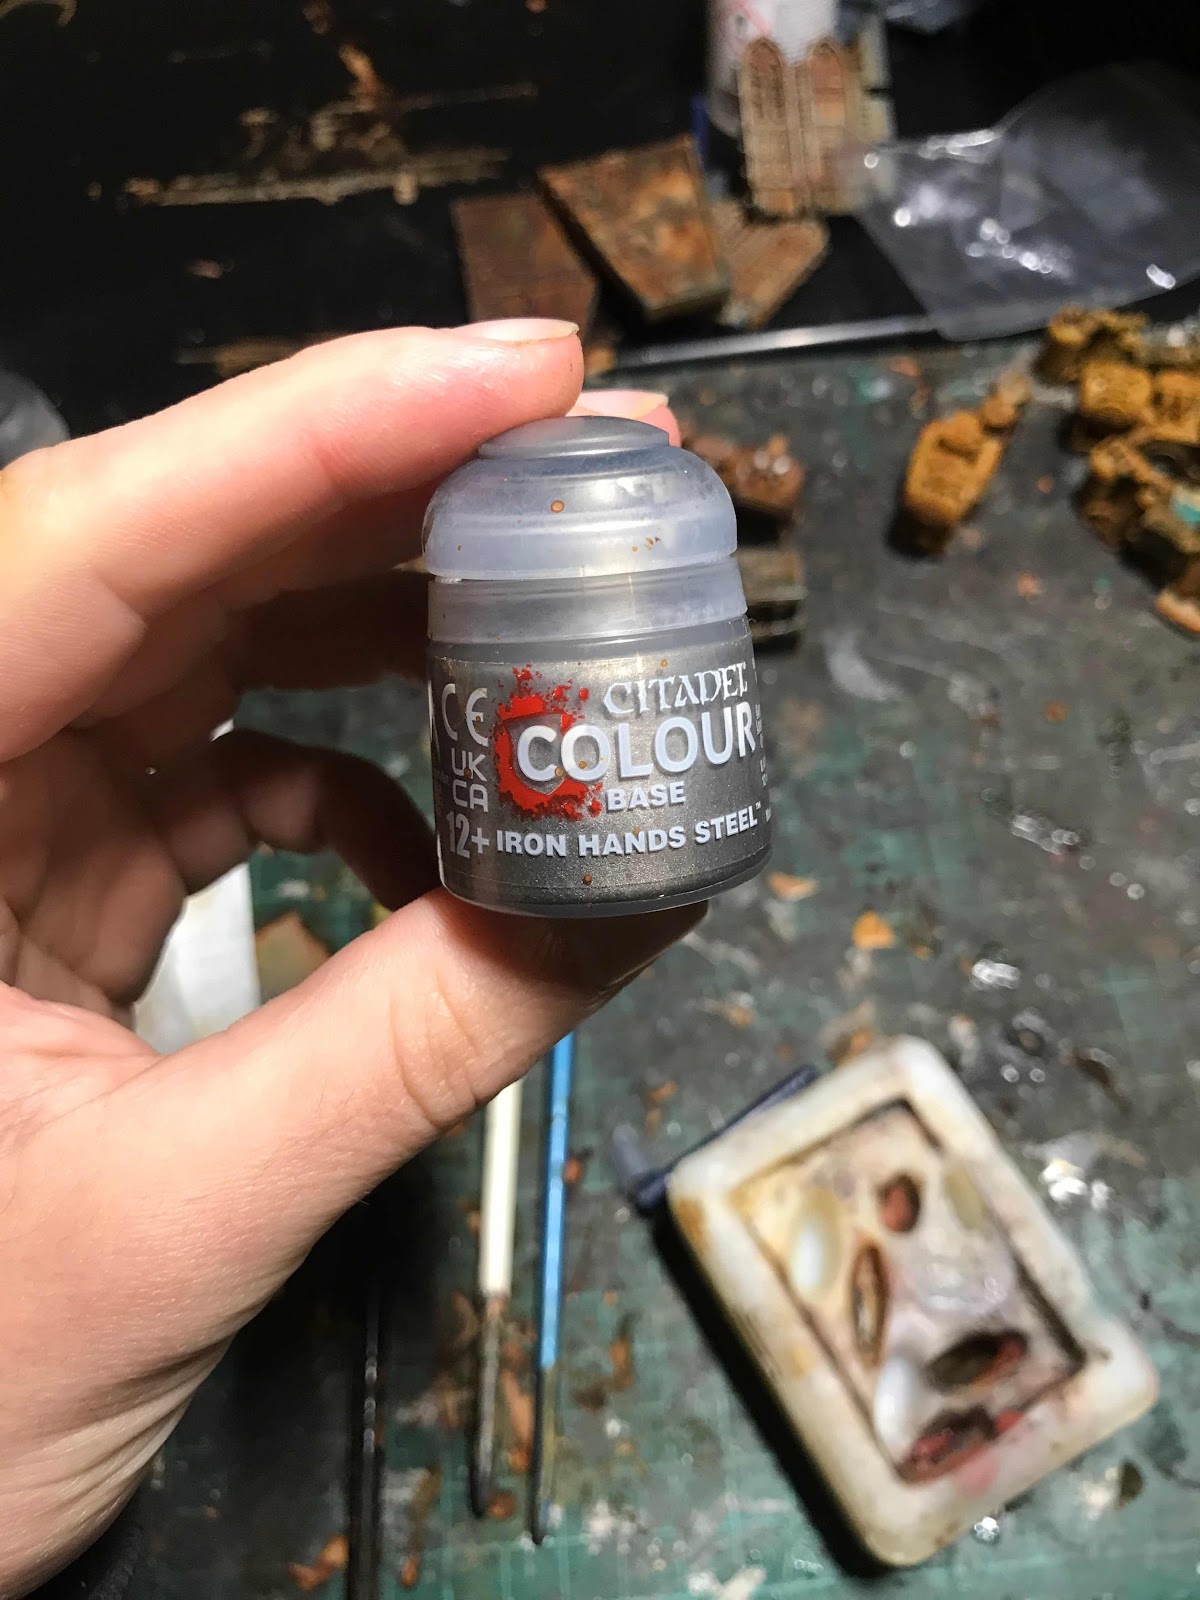
HEAVY DRYBRUSH!
my favourite technique, using a large drybrush, I applied Iron Hands Silver generously all over every piece of terrain.
This unfortunately covered up the red details applied previously, hence why i gave up.
I like Iron Hands Silver because its very bright but its still a warmer silver. So the metal feels aged despite it being worn.
This painting process would have taken less than a week if I hadnt of been messing around and making rookie mistakes, like shaking paint vigorously.
Overall I an very happy and can’t wait to use it.
The Gory Crow
Battle Bunnies
No comments:
Post a Comment