Showing posts with label House Malinax. Show all posts

Thursday, 26 July 2018

House Malinax Knights Progress 26/07/2018

Hey all. 

Sorry I have been quiet for 8 days. Been very busy. 

Soooo. Another night on Knight House Malinax Banner 1. 

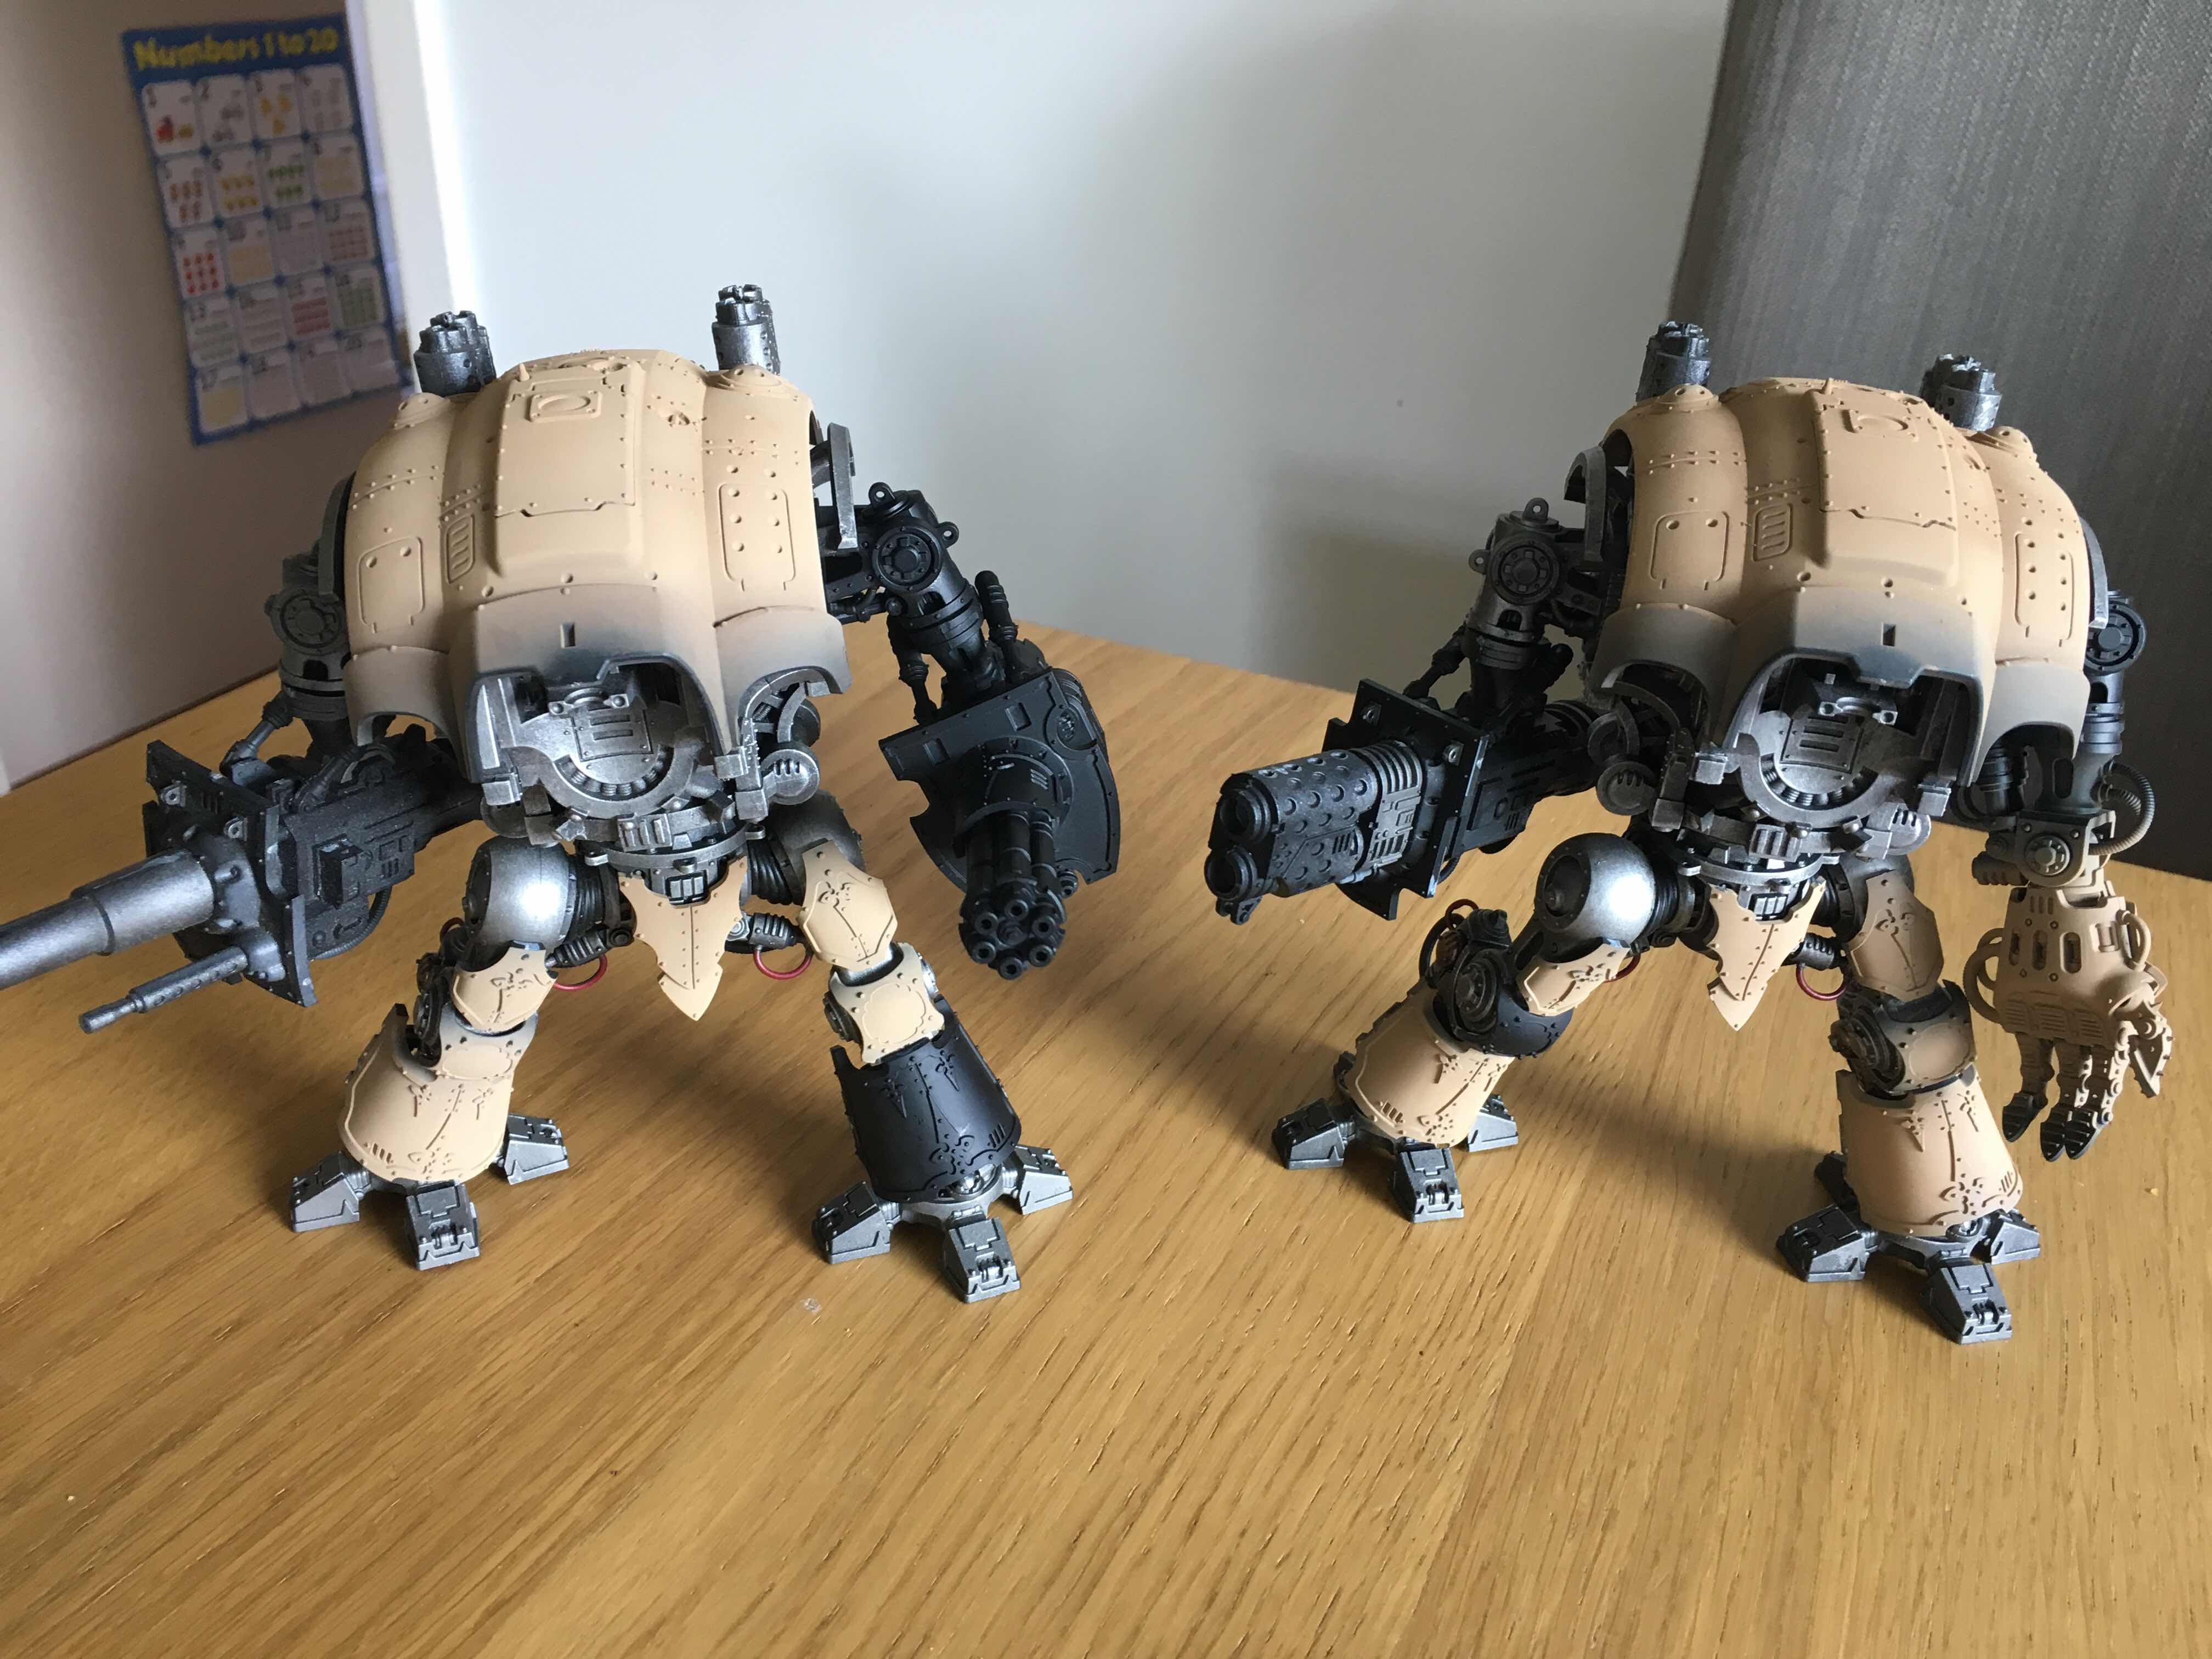
So the chassis and legs have had their trims painted with Tamiya Dark Iron (the dark charcoal looking one). 


I have also done the Dark Iron on the shoulder pads too :)


So the good news is, they are progressing quickly. Next is markings, red panels and transfers. 

I’m still not 100% sold on the next step I want to take weathering wise. Really edging towards oil rub and buff off as it is so easy to do. 

Drake. 

Wednesday, 18 July 2018

House Malinax Knights Progress 18/07/2018

Hi all. 

Managed to get some more time on this project. 


I have painted the main frame of all 5 Knights now. They have been washed as per the recipe too. 

I have followed the trim instructions too (50:50 Leadbelcher and Mechanicum Standard grey). To be honest it makes a decent Vlka Fenryka colour, but no way near what I am trying to achieve with the trims as per the dark iron on the Porphyrion (even after washing with Nuln oil). 


Soooo I have binned it off and have ordered a bunch of obscure Dark Iron paints from online that I hope will match the look I am after. 

Also, I had a bash at printing my 28mm scale Titan banners at 8mm. This was done at 600dpi, so is just slightly blurry. I’m now considering getting a 1200dpi printer to print them off so they are sharper for AT :D


Drake

Saturday, 14 July 2018

House Malinax Knights progress 14/07/2018

Hi all. 

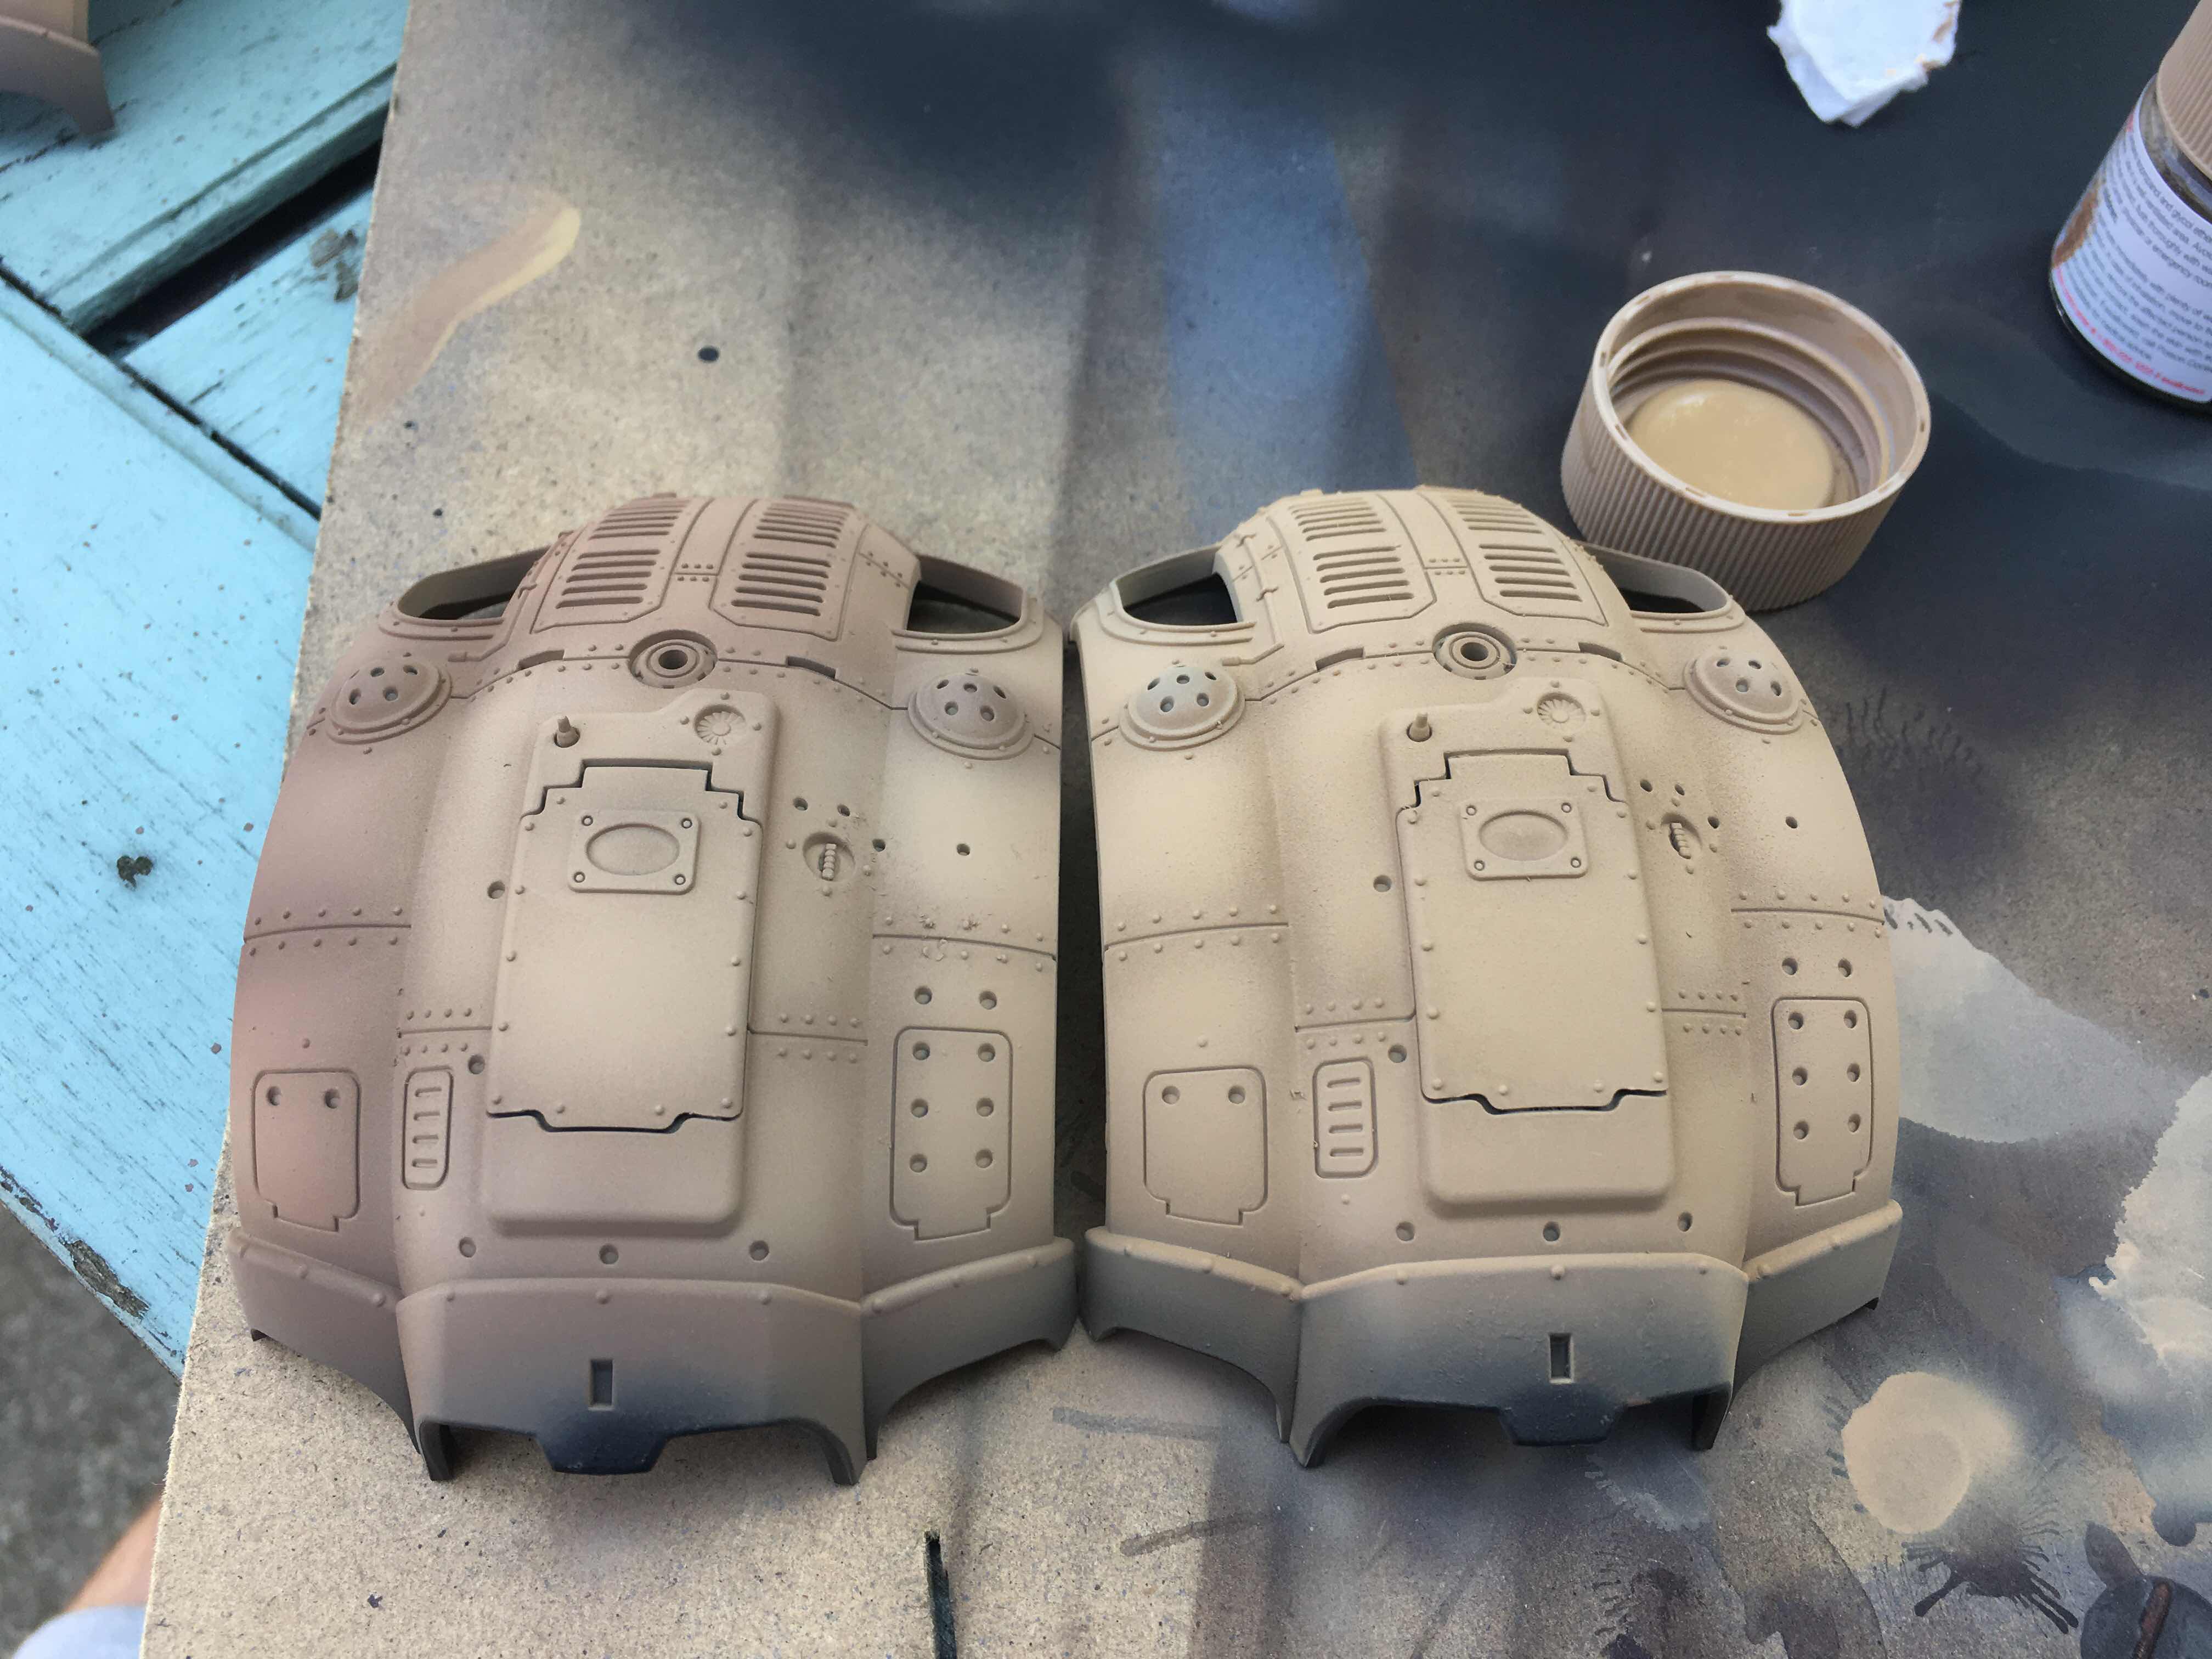
So after my false start I have finally got the armour plates all done. I have done it as per the original instructions that our reader Commussar Ibram Gaunt shared, and I am happier with the results. The reason why the lighter less colourful stage came before the more colourful step is that it was a pre-shading layer. I tested this by trying to miss Step 2 Completely and go to step 3 straight from step 1, but as you can see in the image below (on the right half of the Carapace) the effect is completely different from the Carapace on the right which I did steps 1-3 in order on). 


The colour actually looks a lot more like this in reality:


Colour scheme: 
Undercoat choas black

Metal:
- Basecoat leadbelcher
- wash 50:50 nuln oil and seraphim sepa

Armour plates:
- base tamiya flat earth
- layer wood deck tan
- layer 50:50 wood deck tan and desert yellow
- highlight previous layer with a little white scar

Armour trim:
- base 50:50 leadbelcher amd adeptus battle grey
- wash nuln oil
- drybrush edges leadbelcher
- stipple edges randomly with typhus corrosion 

Entire model
- wash 50:50 of nuln oil and seraphim sepia
- thin ryza rust using lahiam medium and flow into creases, joints and recesses as desired

So here is where I am up to with two Knights. 


Coming on slowly but surely. 

Drake

Wednesday, 11 July 2018

House Malinax Knights start (almost)

Hi all

Well I couldn't wait to paint another big miniature after those damnable Siege Walls I have been working on for months. So I decided to start my next project; a House Malinax Banner!!

Now this Knight House is a perfect choice for me as they marched with Mortis and the Rout on Prospero. Also the new Adeptus Titanicus game pairs Mortis with Malinax on the transfer sheet. 

So I ransacked my house looking for Knights and found around 7 Questoris Knights and 4 Cerastus pattern Knights. I have decided to start with the Questoris Pattern Knights as they are a bit more simple to do. 


I followed a scheme which reader Commisar Ibram Gaunt put up a long time ago in a comment as it is impossible to get it from FW now. 

Colour scheme: 
Undercoat choas black

Metal:
- Basecoat leadbelcher
- wash 50:50 nuln oil and seraphim sepa

Armour plates:
- base tamiya flat earth
- layer wood deck tan
- layer 50:50 wood deck tan and desert yellow
- highlight previous layer with a little white scar

Armour trim:
- base 50:50 leadbelcher amd adeptus battle grey
- wash nuln oil
- drybrush edges leadbelcher
- stipple edges randomly with typhus corrosion 

Entire model
- wash 50:50 of nuln oil and seraphim sepia
- thin ryza rust using lahiam medium and flow into creases, joints and recesses as desired

So as you all should know by know I am a lazy painter, so I have chosen to leave all armour plates on the sprue prior to painting. 

I painted the beetlebacks with the first 3 steps in the Armour Plates comment above. Before I did this I tested how the 2nd step would look next to the 3rd step. I thought to myself; "hmm. Why would you layer with a darker colour, maybe Commissar Ibram Gaunt got the  steps muddled up? I know, I'll look at how they look on the webstore!" There I found the Atropos and it's plates look like this:


So then I thought "Yeah he must have muddled them up as that colour is so pale bone, ok I will swap them round :)"

So here from left to right you can see Step 1, Step 3 and Step 2. 


And I was pleased with myself :) 

Then after I finished all pieces and packed away for some late night browsing, I had a look at the Porphyrion. . . 


Now I feel I went too bone pale . . . Soooo I have ordered more paints and am going to layer it up again and do steps 1-3 in order, with maybe just a little bit of step 2 to finish it off again before Step 4. 

Drake Seta

Sunday, 17 July 2016

Space Wolves Transfer Sheet and House Malinax Knight

Howdy Guys and Girls :)

First - the guide for the Space Wolves transfer sheet:


Pretty cool - can't wait to get more informations about the Cult of Morkai and the Varyag!

We also got some more close-ups from the House Malinax Knight for you:


I hope we will get some transfer sheets soon :)


Speaking about Xana - Magos Scoria will get a model (yay! Scorpion-legs rock)


Last but not least - some alternate Cerastus heads. All Knight patterns may get some more Mechanicum heads as upgrades in the future.

regards,
Drake Seta and Lady Atia