Showing posts with label Painting guide. Show all posts

Sunday, 5 October 2025

Necromunda: Zone Mortalis Painting guide.

Hi all

Today I thought I would post a video that I worked on months ago. I have been sitting on it for a long time due to real life getting me down.

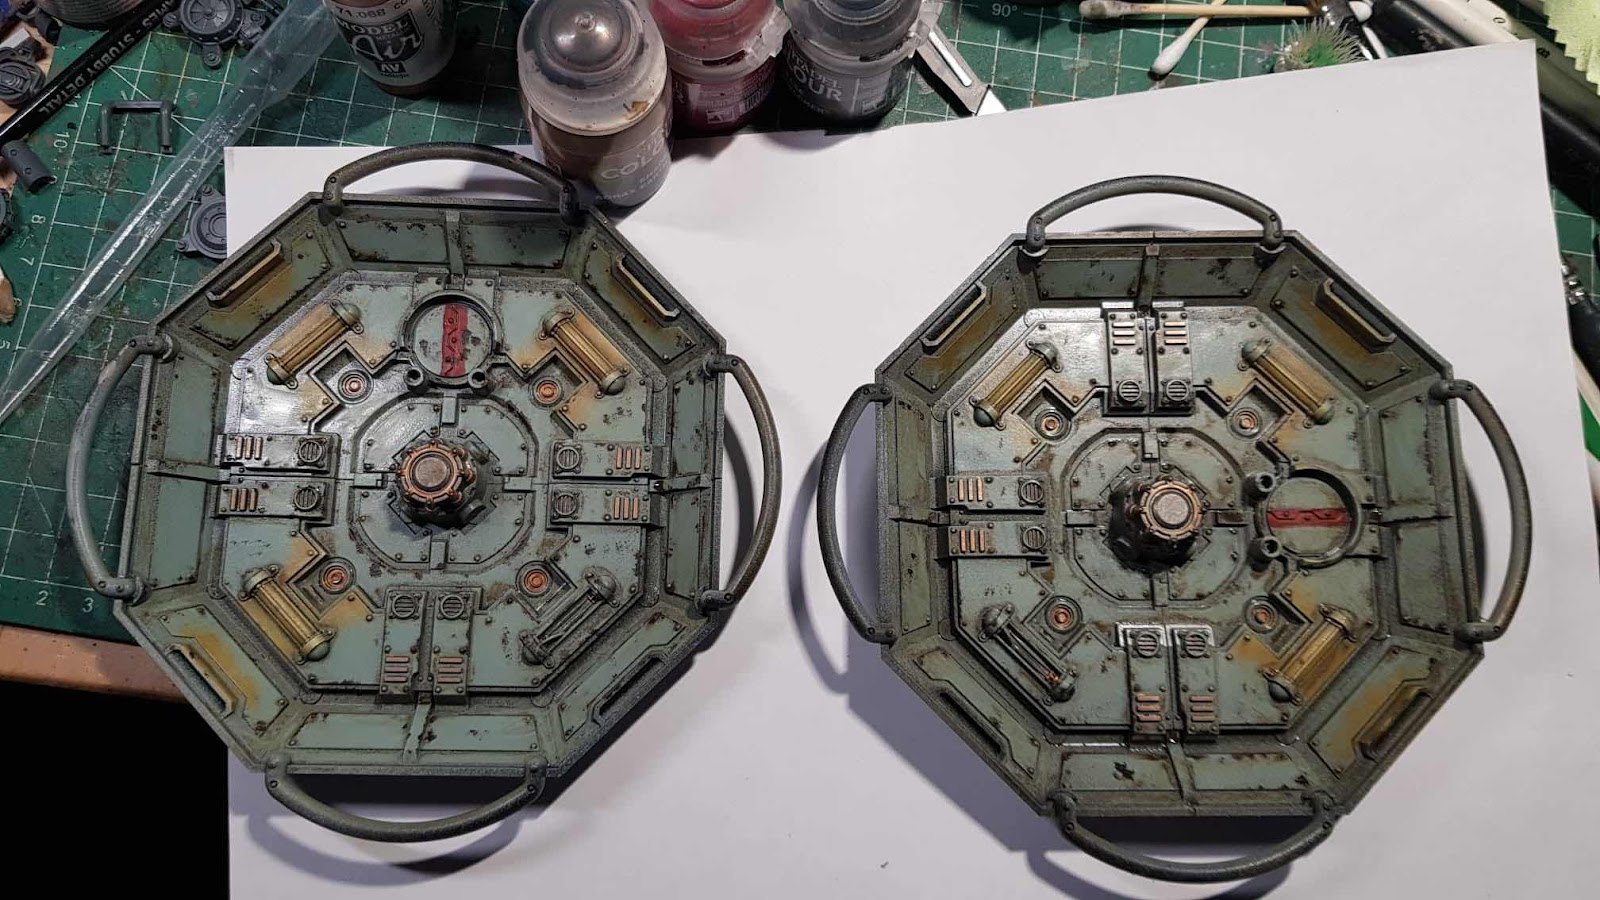
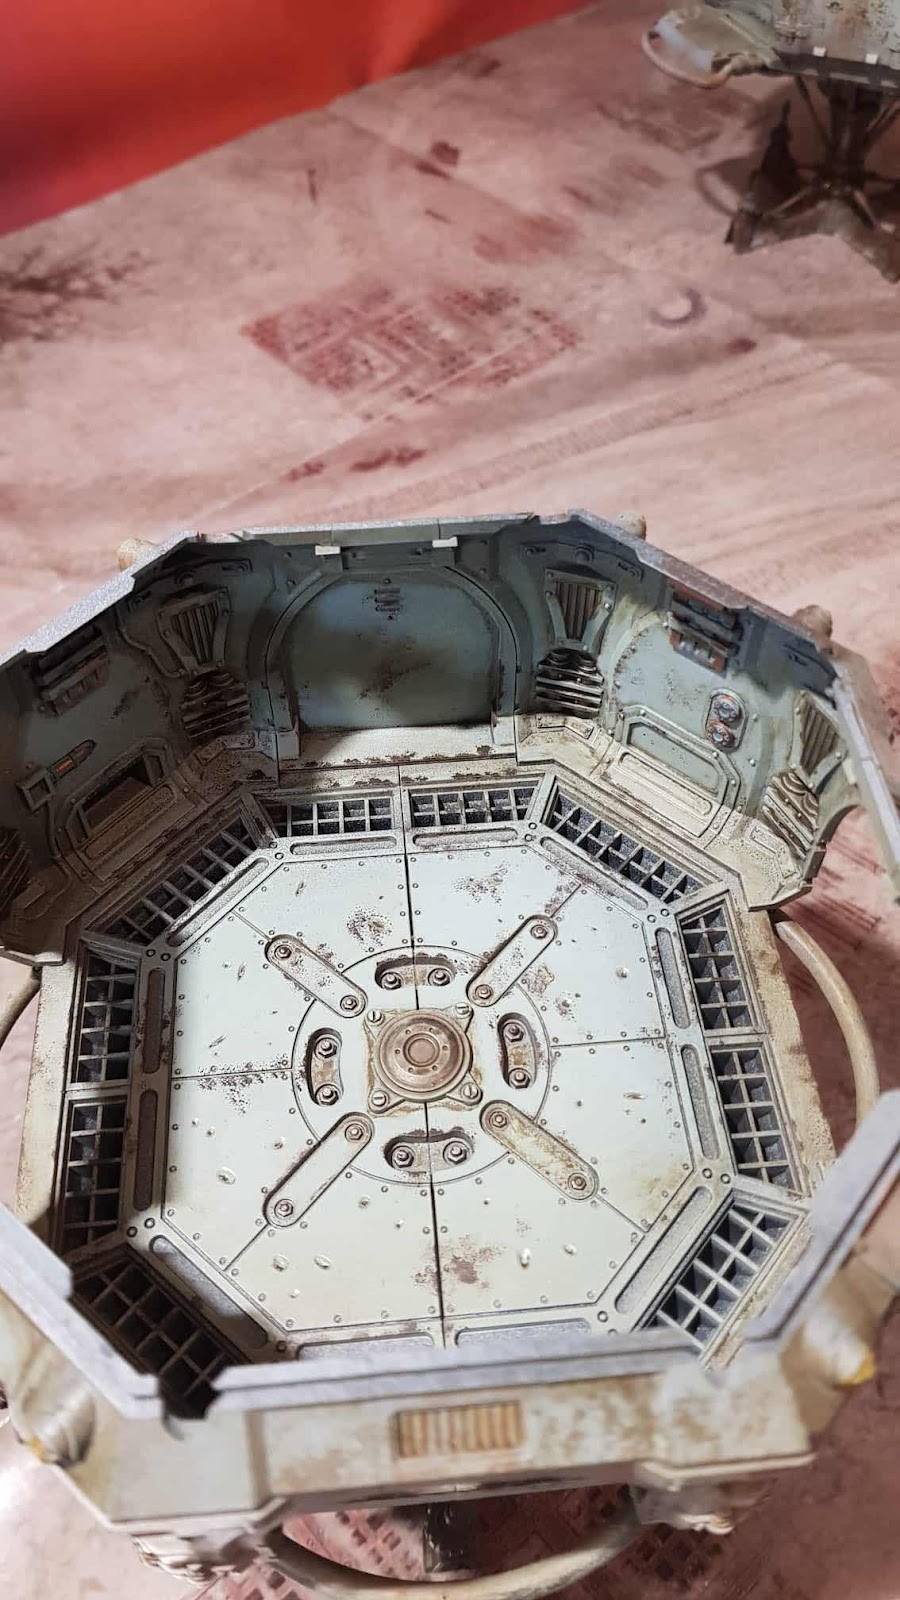
My painting guide for the Warhammer Zone Mortalis Floor Tiles.


Hopefully it helps you out.


There is a list of the paints in the video too.

Drake Seta

Battle Bunnies


Friday, 15 December 2023

Legions Imperialis: Civitas Imperialis City Road Tiles painting guide

 Hi all

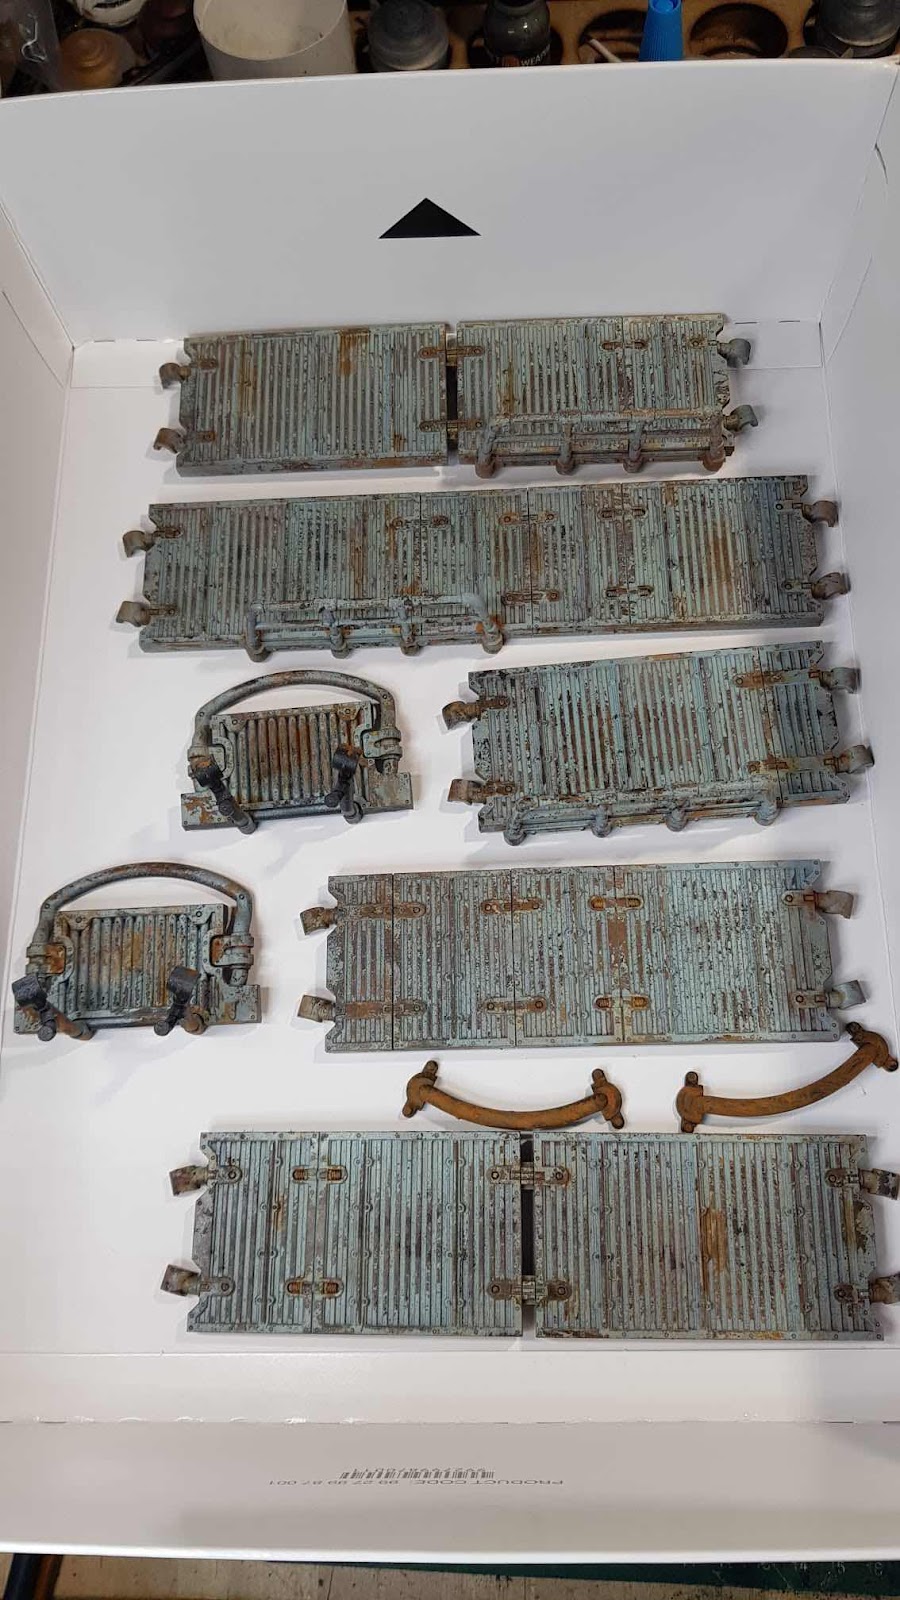
Really deep intp the Legions Imperialis game system now, so I thought I would make a painting guide for the new City Road Tiles.


Lots more Legions Imperialis Content coming soon!


Drake Seta
Battle Bunnies

Saturday, 30 April 2022

Necromunda: Ash Waste scenery review and painting guide

Hi all

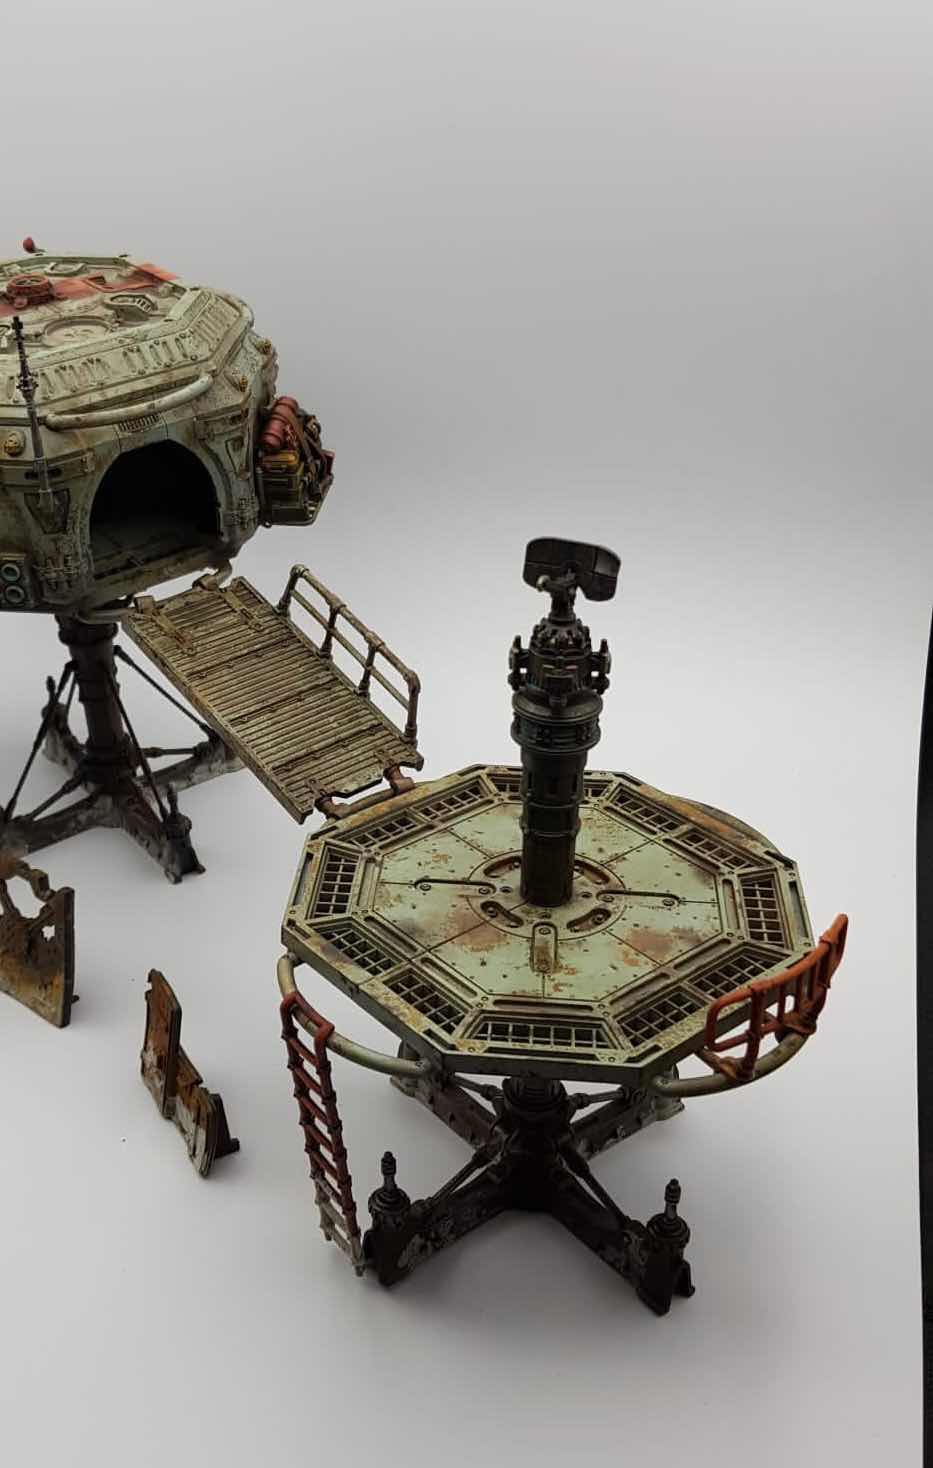
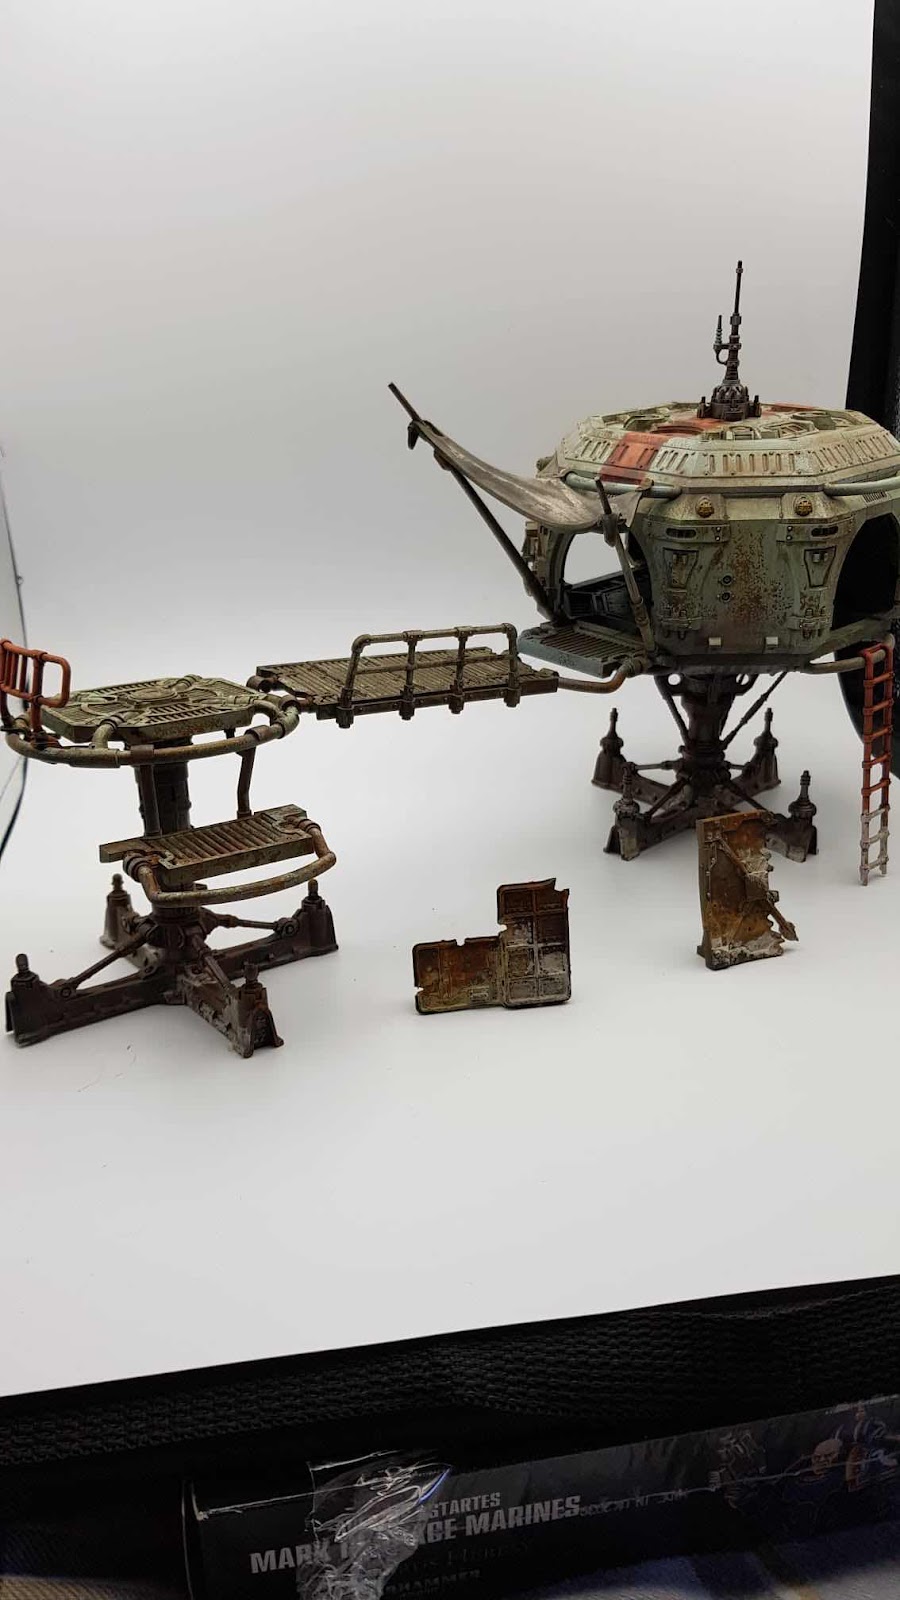
Hi all. We have received a copy of Necromunda Ash Wastes for review. 


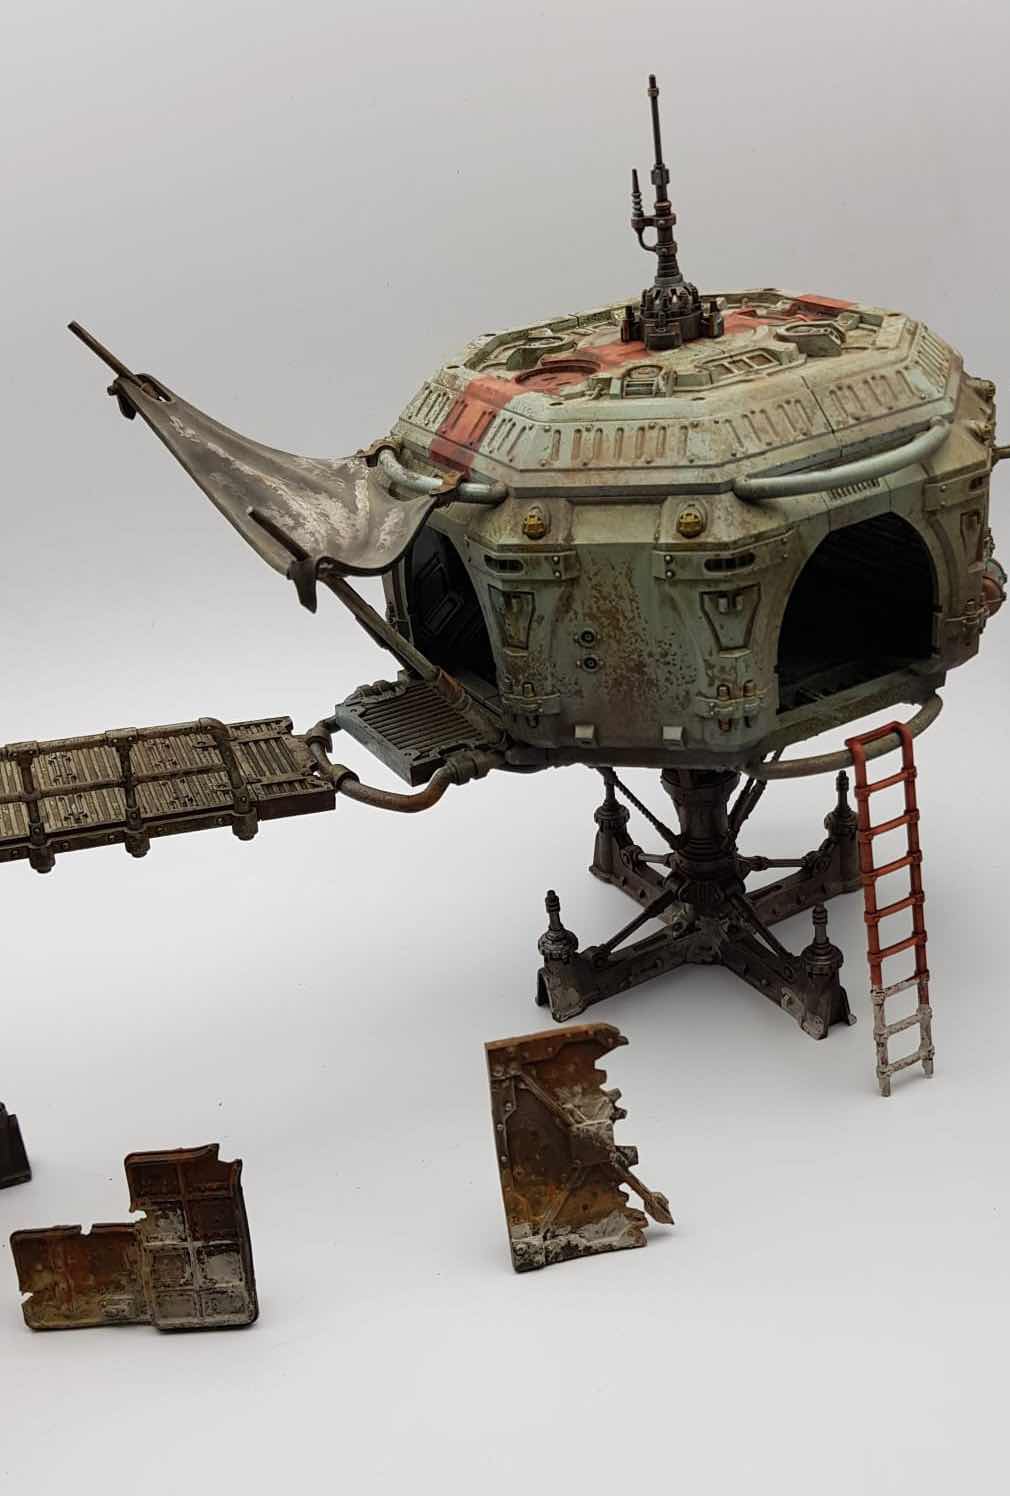
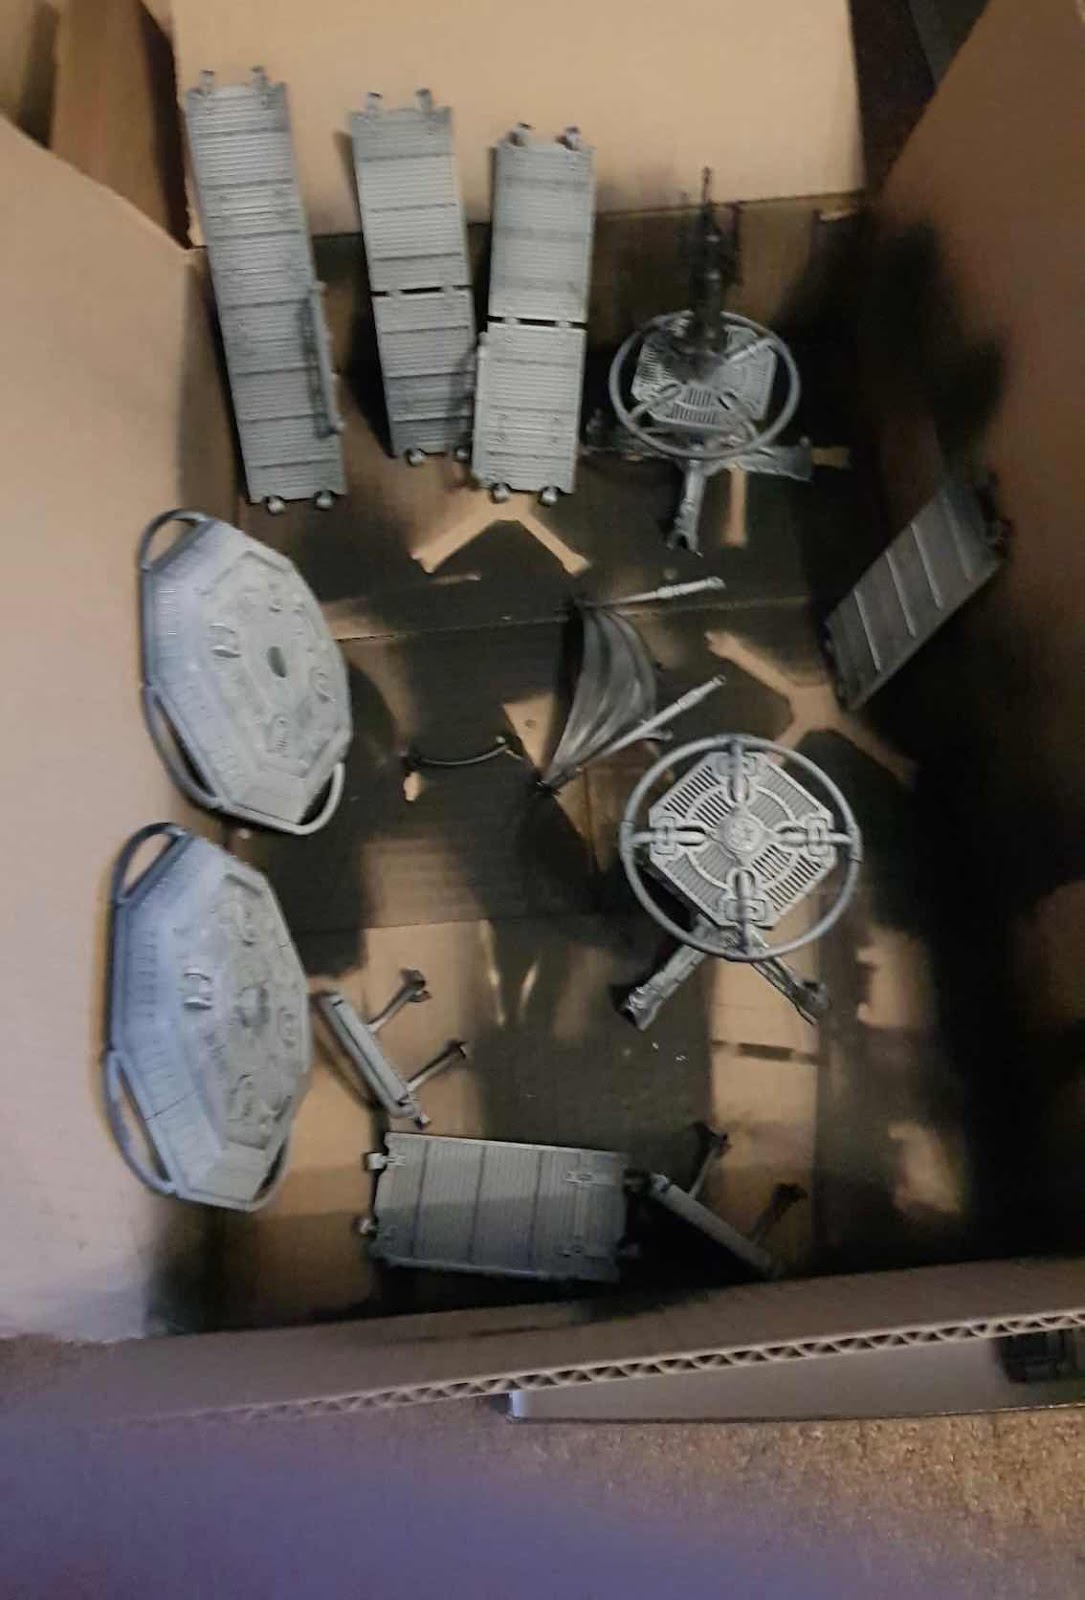
The scenery has been assembled part by me, and painted by our Contributor Rob Wolters. He is an absolute machine when it comes to techniques and technical weathering. 
Here is how he achieved the Hab terrain and walkways. 

Rob: after looking at the terrain in the box and on the box art, I decided to do a very light green grey scheme, with flaking paint and sun bleached orange stripes/spot colours. 

Zenithal highlighting first with Corax White which will be followed by the rust coat then the Chipping medium. 


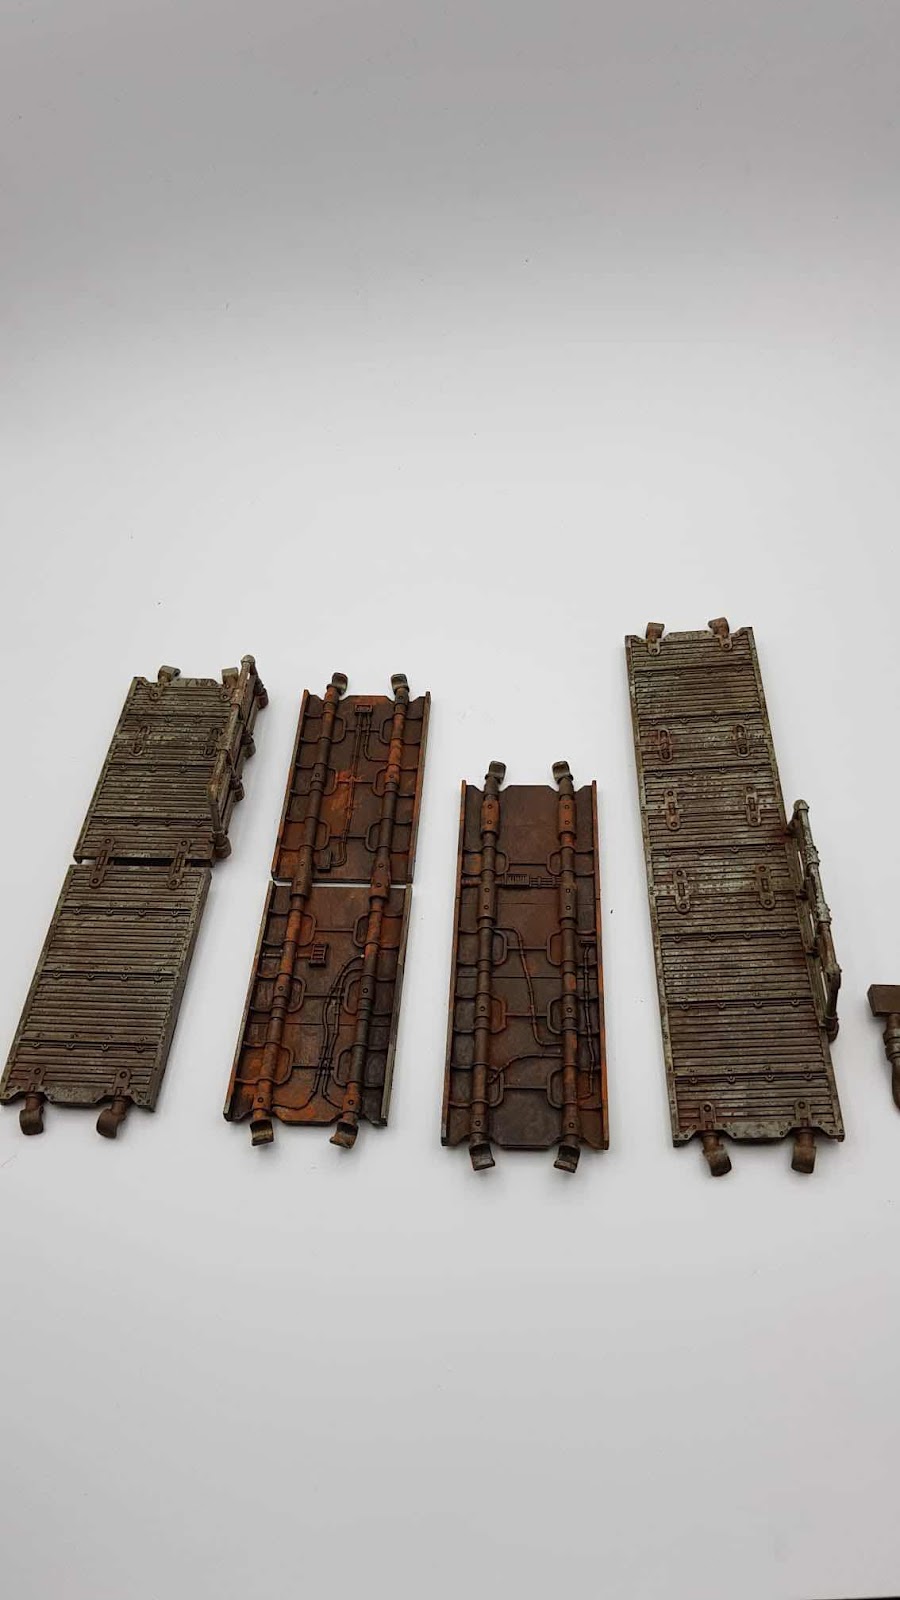
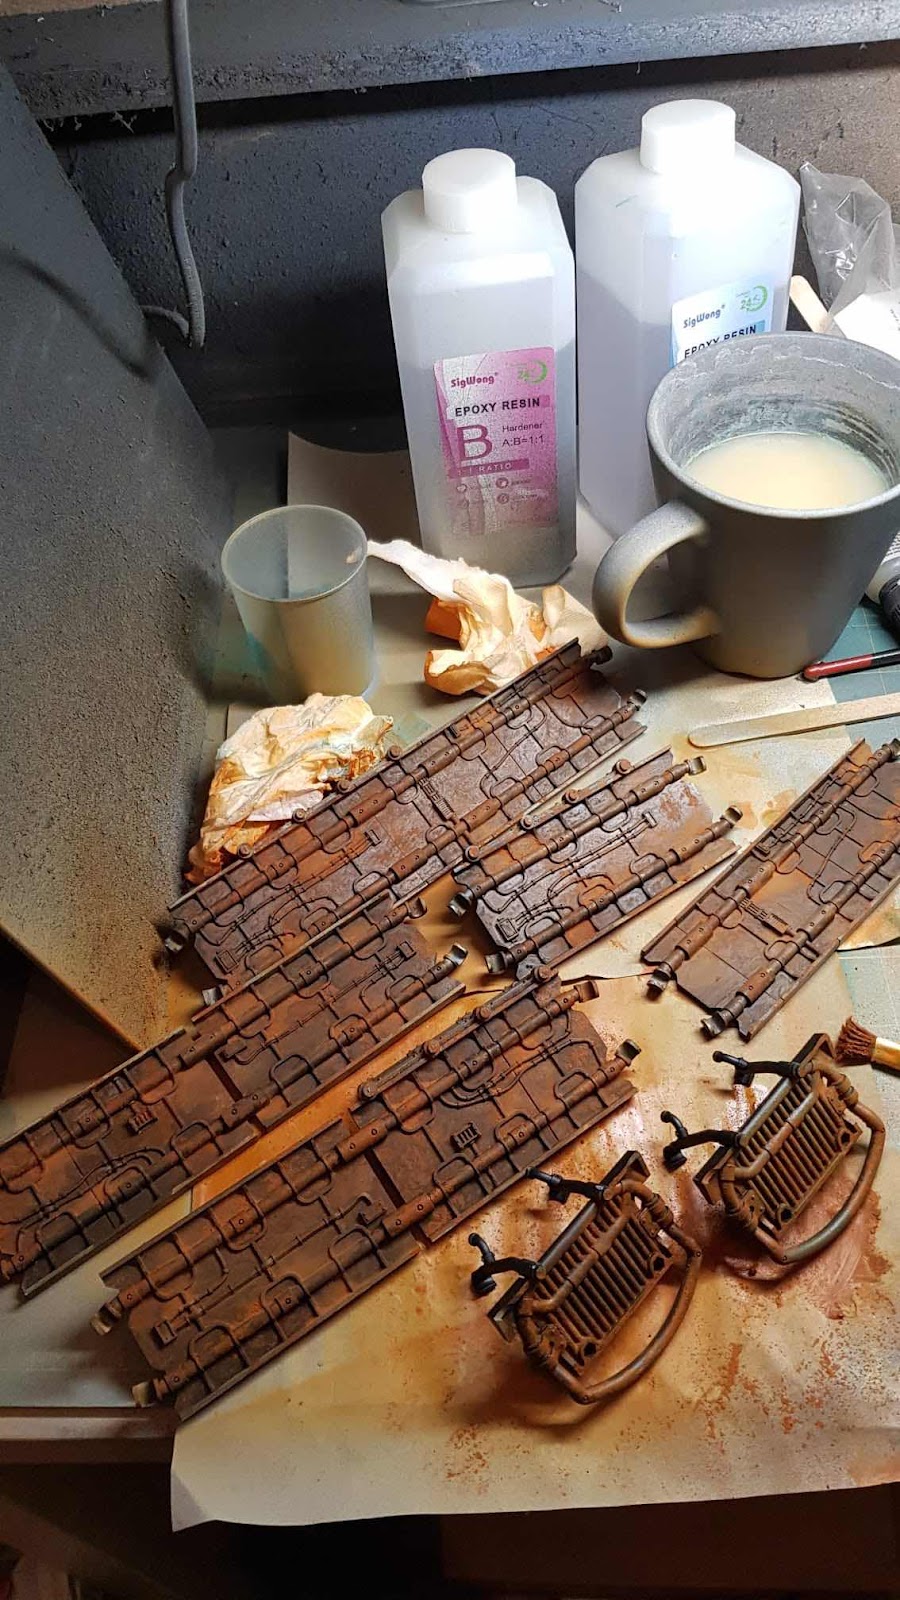
Did I ever say I love rust?  This is the underneath of the walkways :)

Dirty work but here is a pic with the rust layer on, just need to seal it in and can then start on chipping medium and top layer. The rust was done mostly with pigments over a base of rhinox hide and Doombull brown. This was then varnished before the chipping medium. 


This is after the final layers have been added and chipping/light oil wash. Here you can see Inside roof detail, not sure why I did all the details as you cannot see any of it..lol. Really cool that you can take the roofs off to easily facilitate the gaming!
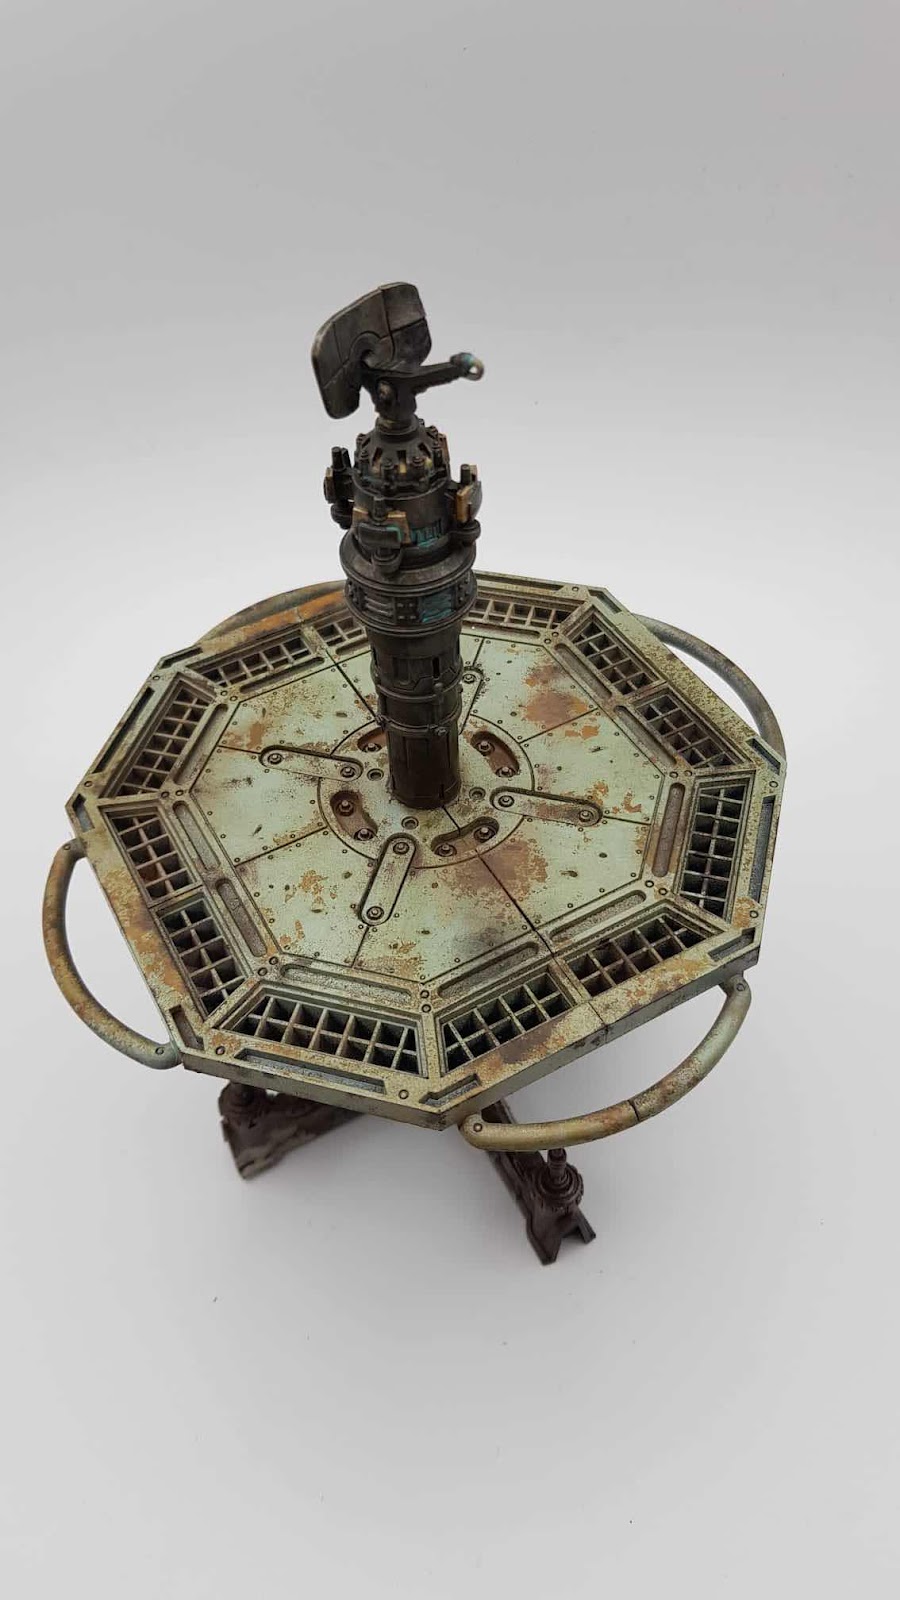
To get the faded green, I went over the rust with thinned Vallejo light green blue but I suppose ironrach/deepkin skin will give a similar colour.
The orange red stripe was Khorne red, then stippled mephiston, Troll slayer and the mixed troll slayer with white to make a faded orange. 
A combination of firm brushes etc were used to remove the top layer of paint in areas to return to the rust layer. It was then sealed, oil washed and sealed again!!


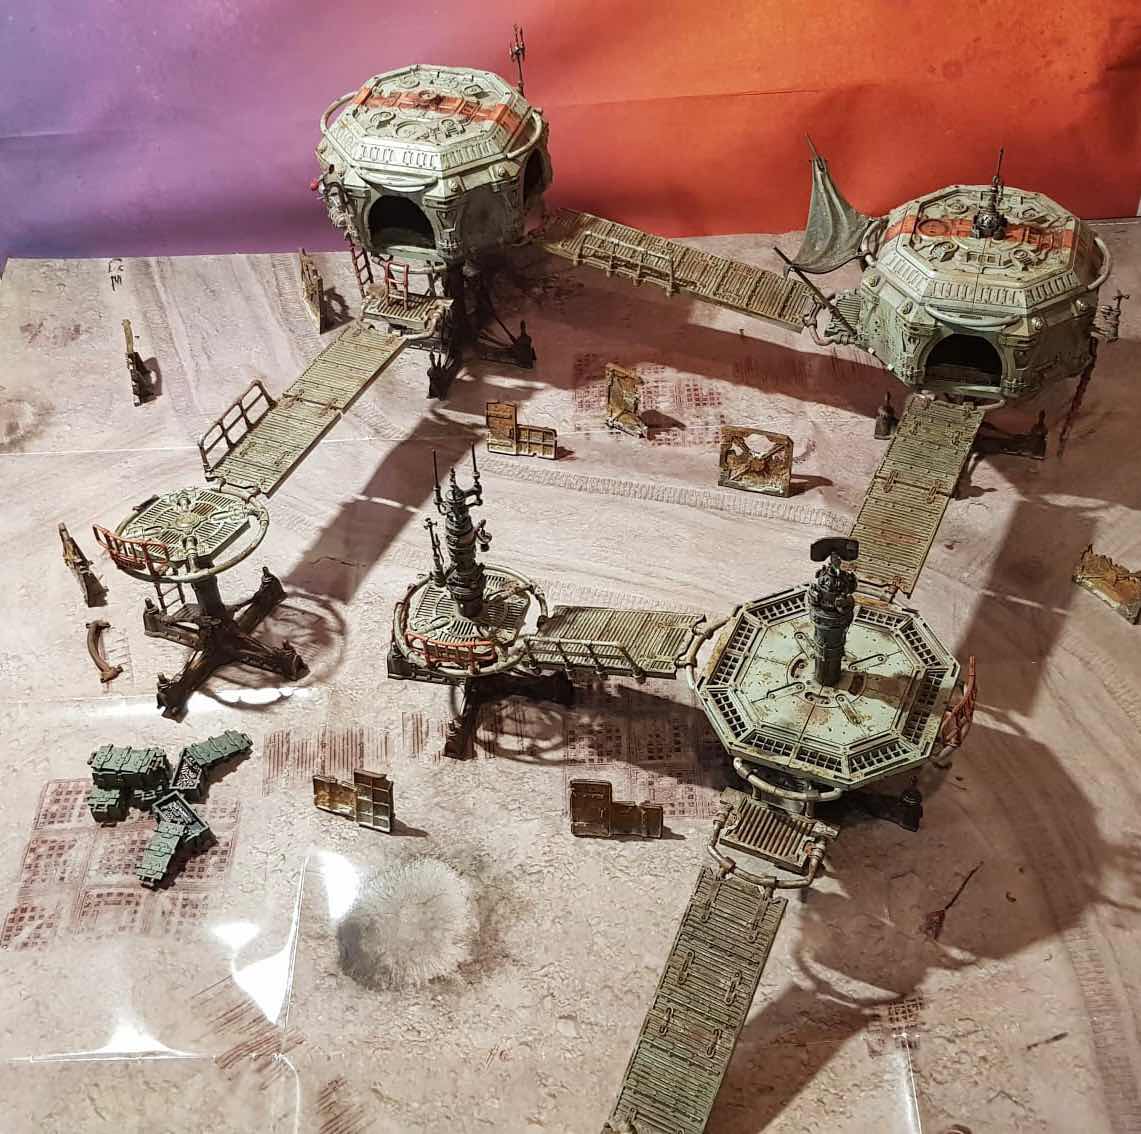
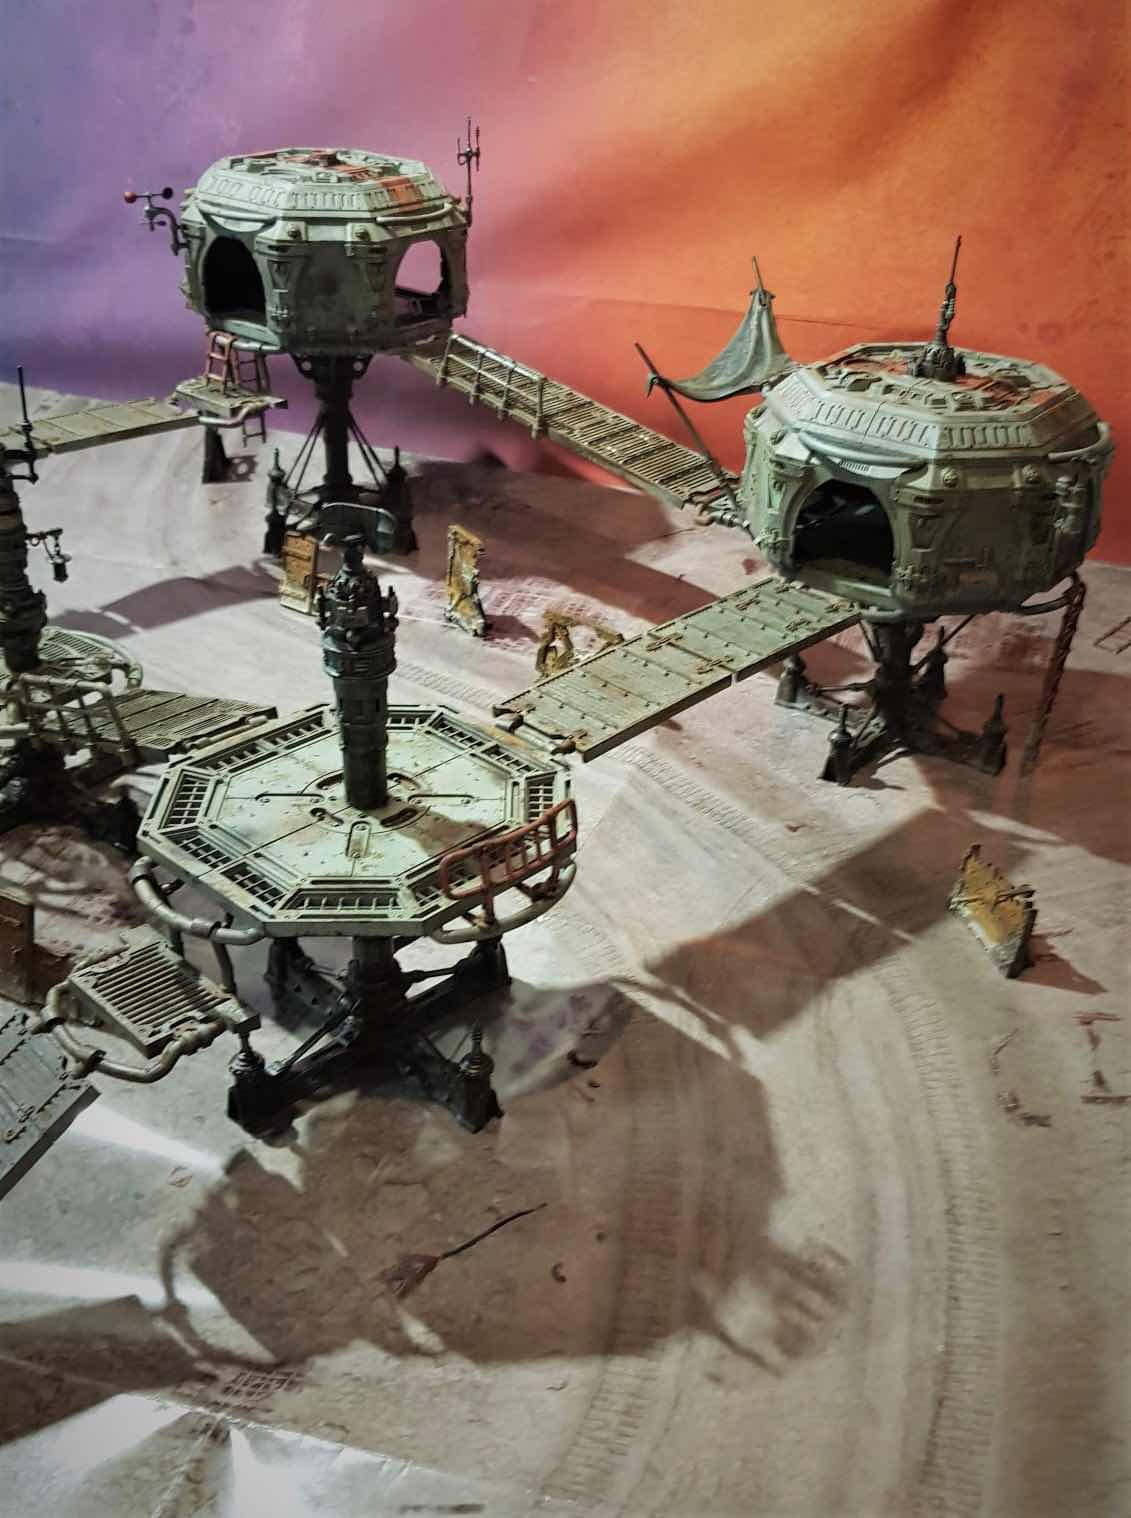
And here we have the scenery out on the mat!


Covers a fair bit of the playing mat. I think it's a bit over weathered but it's just terrain [I don’t lol, considering the environment! - Drake Seta] added a bit of colour on the ladders to break up the monotone of the wastes. 

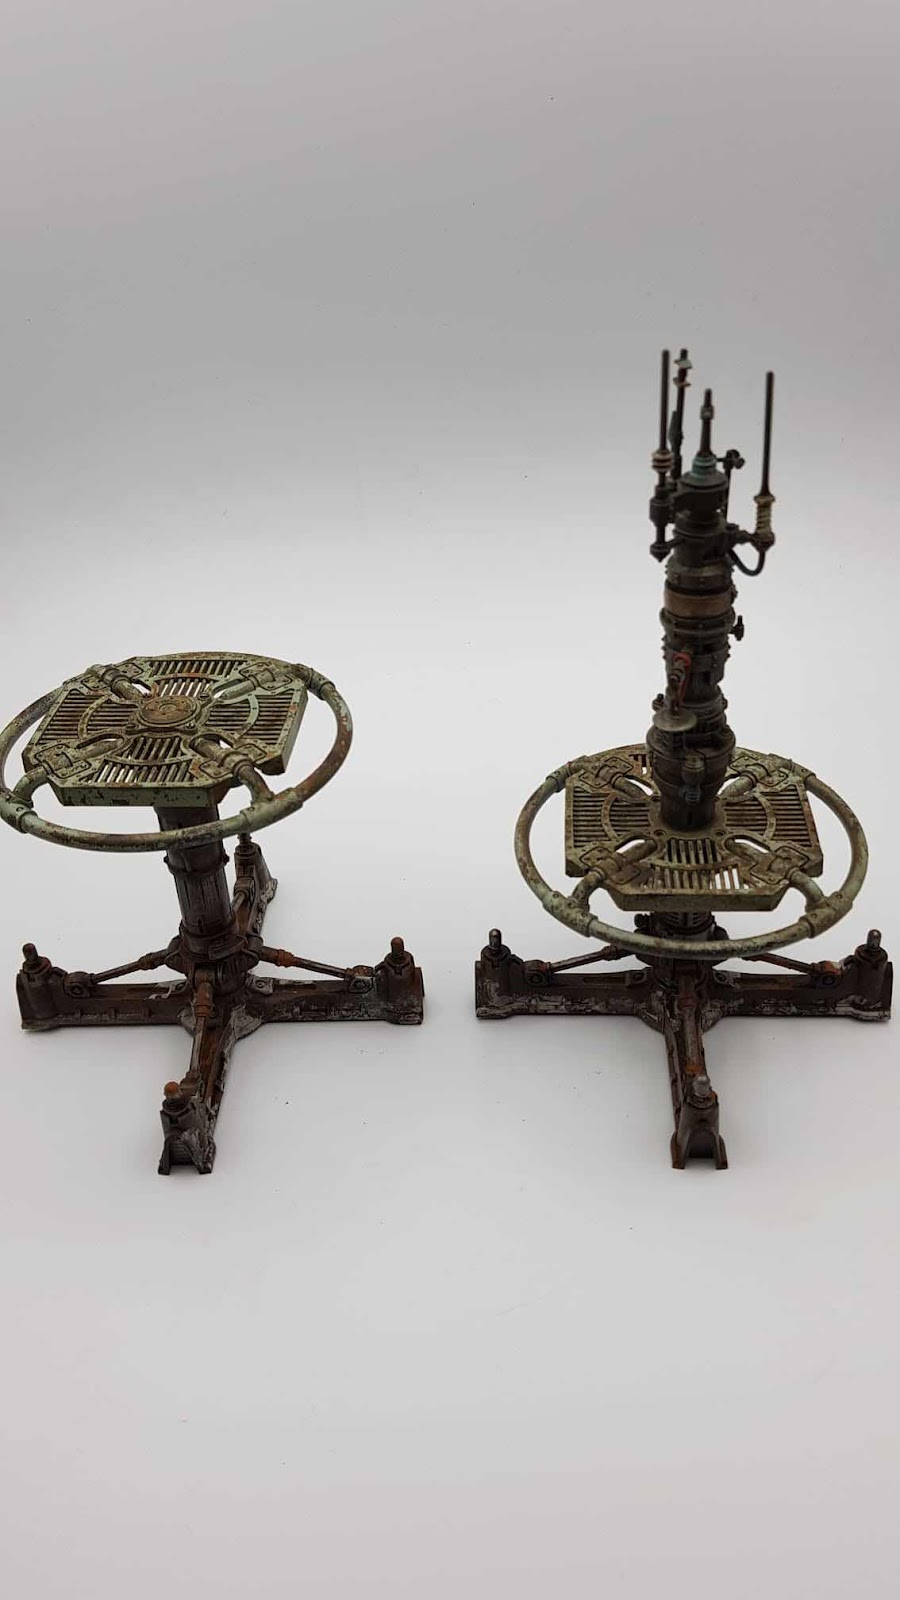
With all the pylons I started quite rusty and worn at the lower section, to a less weather beaten top area, figured it would be better maintained at the functional sections


Same applies to the inside, it's a little cleaner than the outer shell.


Thanks to Rob for all his incredible work on this project. We will have his Orlock gang up tomorrow for pics! Hopefully a game will be had midweek too!!

Battle Bunnies


Saturday, 2 December 2017

Necromunda Bulkhead doors

Hi all

So I have managed to get all of the Necromunda bulkheads finished now. 

So firstly I sprayed them Chaos Black. I then drybrushed Leadbelcher all over them. 

I then followed this with an Agrax Earthshade and a Nuln oil wash. As always, I am never truly happy with how washes affect a model, so I topped / cleaned it up with another light drybrush of Leadbelcher. 

To weather I used two techniques. Firstly I made a pin wash concoction of: 1 pot Lahmian medium and two splodges (turn the paint pot upside down over the Lahmian Medium and let two dollops drop in) of Mournfang brown. This was then painted into recesses here and there and around bolts, to give a rusted look. 


I then bust out the Old rust weathering powder and added this here and there (I actually used the new Necromunda logo for inspiration for this too). 

This coming Wednesday Kaelo and I will be playing through the first Necromunda scenario with our gangs. Please come and have a view. We may even try to record the game and put it up on the site. 

Drake Seta

Thursday, 30 November 2017

Necromunda barricades (painting rusty ones)

Hi all

A couple of days ago I asked everyone for suggestions on how to paint rusty effects on bulkheads etc. Thanks for all of your suggestions, and it did help me a lot. 

Firstly I undercoated black and then sprayed it Mournefang Brown. I then drybrushed dryad bark over it sporadically (yes it is darker, the reason why is because I want some orange in the recesses). 

I then dipped my little finger in dark iron weathering pigment and brushed it all over. I then did a little drybrush of the powder too for the hard to reach places. 

I then used orange rust and old rust weathering powders across the piece. 

I then drybrushed it again to even it out. 


Followed by a little bit more dark iron weathering powder. 

I'm quite happy with how it has turned out. I will be using the technique on a few more barricades, but I will also be using the hairspray (with sugar here and there too possibly), airbrush a colour, scratch off and oil wash streaks technique on them too possibly. 

Drake Seta

Saturday, 3 June 2017

Legio Custodes Painting Guide


Hello! 

You may be aware that several of the Bunnies are working on some group projects, one of the projects is the Legio Custodes. We have been gathering the force together for a while and have begun putting paint to model! Below is our guide as to how to paint them. We have aimed to keep them as true to the art work in Book 7 as possible.

Gold armour:
1 - Chaos Black spray

2 - Warplock Bronze base 


3 - Warplock Bronze/Retributor Armour Heavy drybrush


4 - 1:3 Warplock Bronze/Retributor Armour Hemisphere zenith drybrush


5 - Retributor Armour Zenithal dry brush


6 - Liberator Armour highest zenithal drybrush highlight.

7 - 1:1 Seraphim Sepia to pre mixed armour mix (pot of Agrax Earthshade/Pot of Nuln Oil/pot of Klear floor polish and half pot of Water) Wash. 


8 - Liberator Armour highest zenithal again drybrush highlight.

9 - Edge highlight Mithril Silver on highest and most prominent edges.

Gloves and Peerages
1 - Doombull Brown
2 - Druchi Violet and Agrax Earthshade.

White Rope
1 - Administratum grey
2 - Nuln oil wash
3 - White Scar drybrush highlight.

Eyes
1 - Blood for the blood god

Hair
1 - Word Bearer Red
2 - Agrax Earthshade.
3 - Highlight Mephiston Red drybrush zenithal highlight Evil Sunz Scarlet

Blue jewels
1 - Abaddon black
2 - Zenithal highlight Mithril Silver
3 - Soulstone Blue (2 coats) 

The finished product:


We hope that this will provide some help to those of you planning Custodes armies! To help with more inspiration we have a whole army on the way in the coming months, so keep your eyes open for more updates. 

Happy hobby! 

Darien

Tuesday, 3 January 2017

Painting a Wolf Pelt

Hi all

Ok so I had to paint a wolf pelt, and do it well (otherwise Leman would be mad at me). 
So first I had to choose a colour. Grey would be lost on the model in my opinion, Black would look slightly lazy, white would look a bit too prissy. Soooo the resounding choice could only ever be Generic white and brown wolf. 

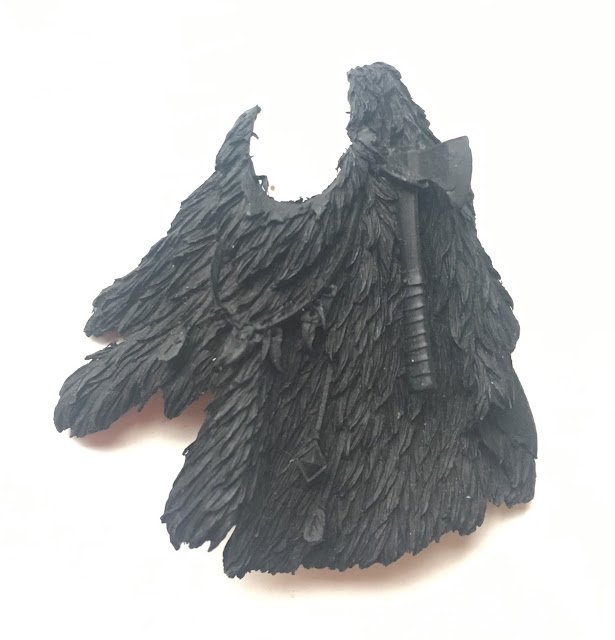
My reference:


I undercoated Chaos black. 

I then did a coat of Corax white all over then another Zenithal spray from the top of the pelt (to help add depth to the recesses)

I then did a thinned 50/50 White Scar and screaming skull airbrush over the model. 

Corvus Black was then airbrushed in the centre of the piece along the spine. 

Screaming skull and White Scar mixture was then drybrushed at the point where the light and dark meet to prepare for the next stage. 

I then airbrushed Seraphim Sepia where the black meets the light parts. This was done at a low psi to make it easier to target and prevents pushing of the wet wash around the fur with the air. 

The edges are left the off white. 

A light drybrush of White Scar and Screaming Skull was then used to highlight the fur tufts. 

So I'm looking forward to getting Freki and Geri started now. 

Drake Seta


Tuesday, 12 July 2016

Legion Praetor Tribune - Making him Yours part II


So for those of you that saw part one of the journey you'll remember this guy. For those of you who haven't go check out my post of how to make a Tribune yours. 

Now  I've been using a tip that Mark Bedford put me on to which if I'm honest I would not have done but it works. 


Stage one Black undercoat. 


Followed by the white one. 


So here we have the pieces prepped to go. Now at this point the legs were not glued onto the base as that would be painted seperate. But I did check it for fit ensuring the pinned legs were still sitting right. 


The next stage was a base coat of Averland Sunset. 


Here you can see I've gone over the model with Agrax in the areas that with either be detailed later or turned into gold trim for the armour. 


I then went in a blocked out the black areas and then detailed the White. I also painted the head. 


As you can see by this point he was really coming on. 

I then began detailing the model and blocking out any additional areas with a mix of Averland Sunset and Flash Gitz yellow. 


Here you can see the detailing on the shield I added that has the Phalanx Warden detail on the right shoulder pad. 


Base painted and legs glued in place. Next was the full build. 


And here he is in all his glory. 


Now I've purposely missed out 2 steps here of my normal process for finishing this model. As some of you will have seen from previous posts I have yet to add any transfers. This is a personal thing that I'm working on. Until I have it right with all the varnishes etc in place I'm waiting out on this step. 

Also with this particular model I haven't given him a glaze of Lamenters Yellow. 
The reason being is I'm undecided whether he actually 'needs' it. I plan to paint my remaining Tacticals and then go from there seeing how the paint scheme stands next to those. 

I hope you've enjoyed following this. Due to factors outside of my control I wasn't able to post this last week but it was worth the wait. 

As usually feel free to ask any questions and comment below. 

Until next time. The Emperor Protects. 

- Tylar :D